Today I want to write about another great vulnerability management solution – Nexpose Community Edition by Rapid7. What makes it special? Nexpose CE is a fully functional network vulnerability scanner that can be used for free not only by home users (Nessus Home, for example, has such restrictions), but also by the companies.
However, the company should be quite small. By using Nexpose Community Edition you have a permission to scan only 32 ip addresses. But it could be any kind of host: Linux and Windows, Unix and network equipment. And you can scan it as often as you like, with different profiles and produce wide range of reports.
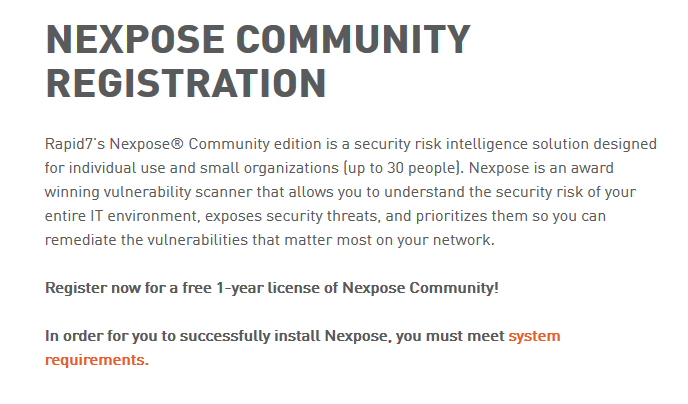
To get a 1 year license you should fill out application form.
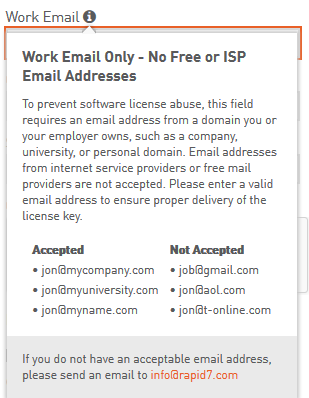
You should input in form your work email or email from your personal domain. If you have a domain, can register mail adress easily with Google for business or free services Mail.Ru for business and Yandex.Mail for a domain.
You should also read Rapid7 End Useer Agreement. The most interesting part of this document is that Nexpose Community Edition Scanner should scan only 32 ip addresses. Technical you can scan 32 IP addresses, than delete them and scan another 32 IPs. But it will probably violate the license. So be careful.
Extract from Rapid7 End Useer Agreement:
(e)For Nexpose Community Edition. Subject to the terms and conditions of this Agreement, Rapid7 hereby grants to Customer,during the applicable License Term only,a non-exclusive, non-transferable license to allow one (1) User only to use such Software (in object code form only) solely for purposes of scanning up to thirty-two (32) authorized IP addresses, solely in accordance with any restrictions on use set forth on the Product Order Form and only in accordance with the applicable Documentation. Customer shall ensure that its use of the Software does not exceed one (1) User and that it does not use the Software to perform vulnerability scans for more than 32 IP addresses (each an “IP Address License”). Customer may, however, deactivate such IP Address Licenses, in total, and re-allocate such IP Address Licenses to replacement IP Addresses no more than one time per six (6) month period. NOTWITHSTANDING ANYTHING TO THE CONTRARY HEREIN, THE SOFTWARE IS PROVIDED “AS IS” AND ALL WARRANTIES, EXPRESS OR IMPLIED, ARE EXCLUDED AND DISCLAIMED, INCLUDING WITHOUT LIMITATION THE IMPLIED WARRANTIES OF MERCHANTABILITY, FITNESS FOR A PARTICULAR PURPOSE, NON-INFRINGEMENT, AND ANY WARRANTIES ARISING BY STATUTE OR OTHERWISE IN LAW OR FROM COURSE OF DEALING, COURSE OF PERFORMANCE, OR USE OF TRADE. Sections 5.1, 5.2 and 10 shall not be applicable to the Software
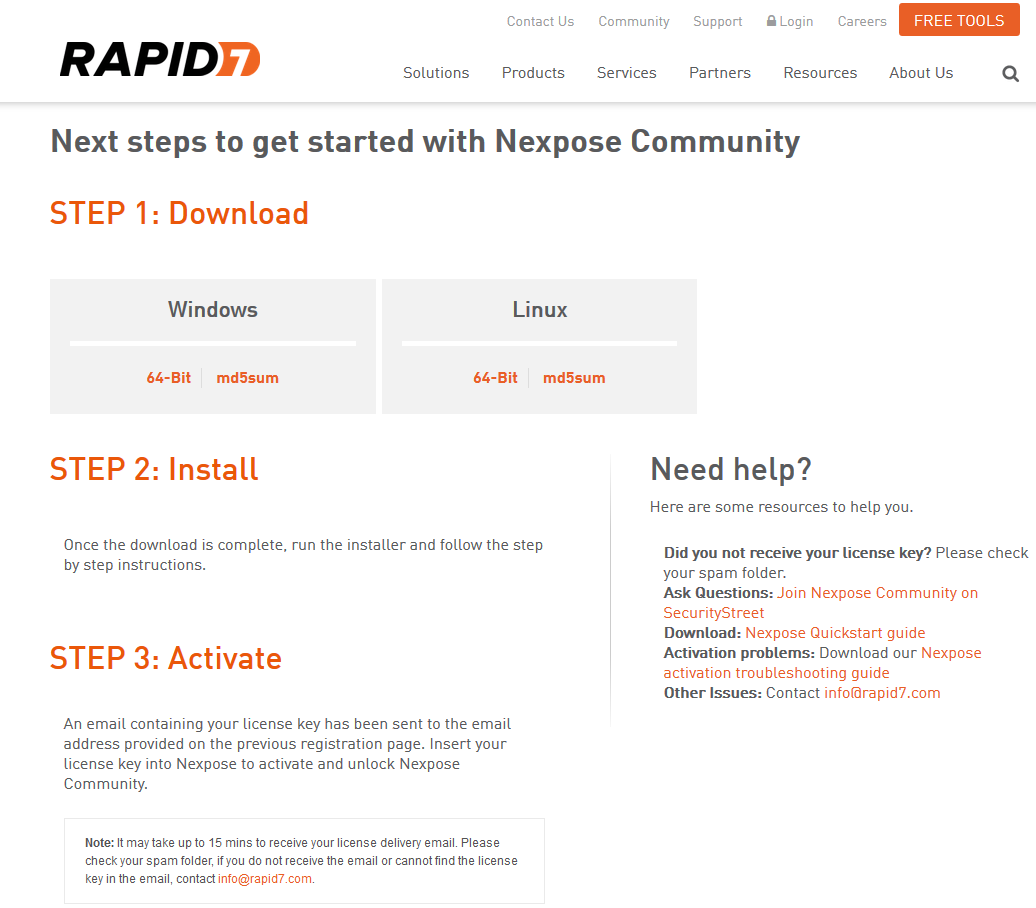
If the form is filled correctly, you will be redirected to the page with links on Nexpose installers for Windows and Linux. Registration key will be sent on your email.
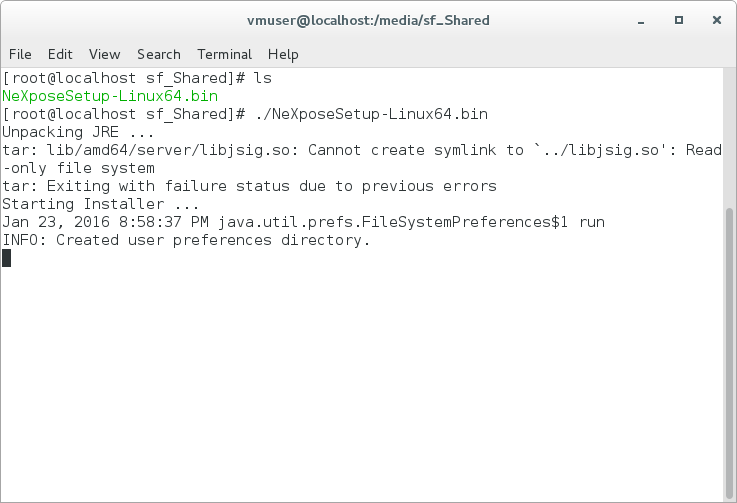
I have downloaded bin file for Linux and installed it in Cent OS 7 Virtual Box machine.
Installation process is easy. You just need to run file NeXposeSetup-Linux64.bin as root user.
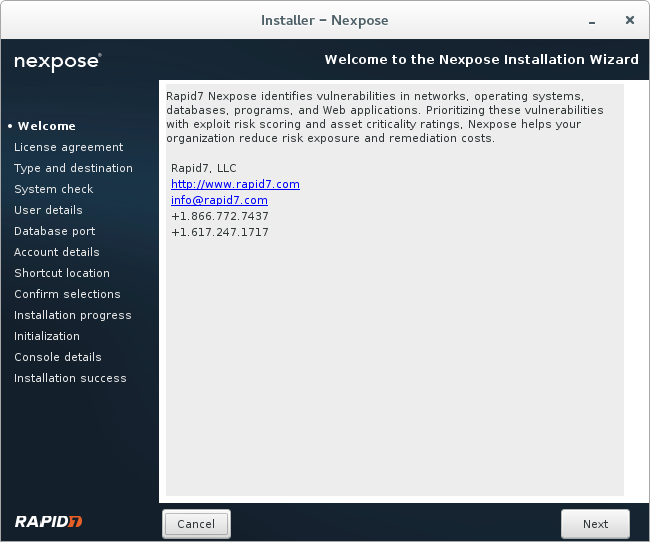
Welcome window appears with the information about Rapid7 and Nexpose.
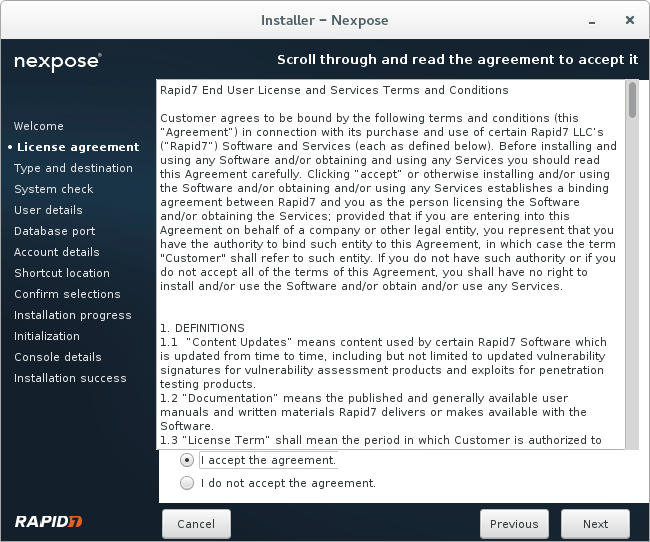
You need to read and agree with user agreement.
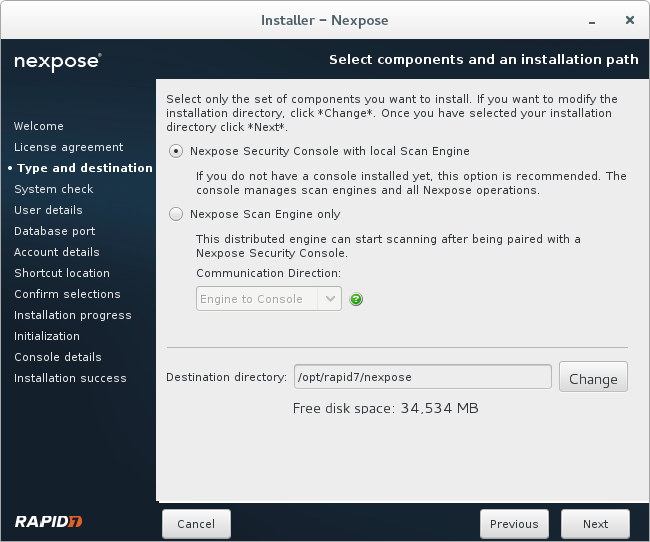
You can install Security Console with local Scan Engine or just a Scan Engine. Nexpose SC supports only one Scan Engine, so choose the first option.
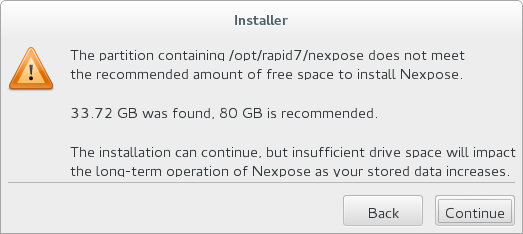
For testing purposes 40 Gb of virtual hard disk capacity was quite enough for me.
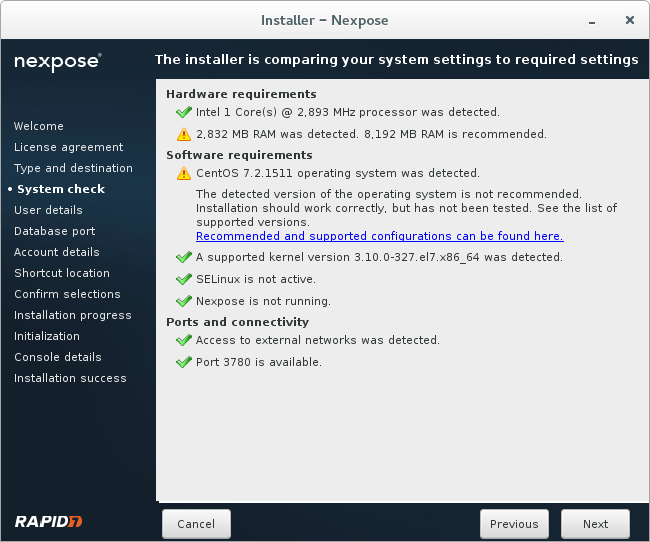
Nominally minimum 2 GB of RAM is required. I have found that minimum 3-4 Gb of RAM is needed for normal scanning. SELinux on the host should be disabled.
Some personal information for SSL certificates and Technical Support.

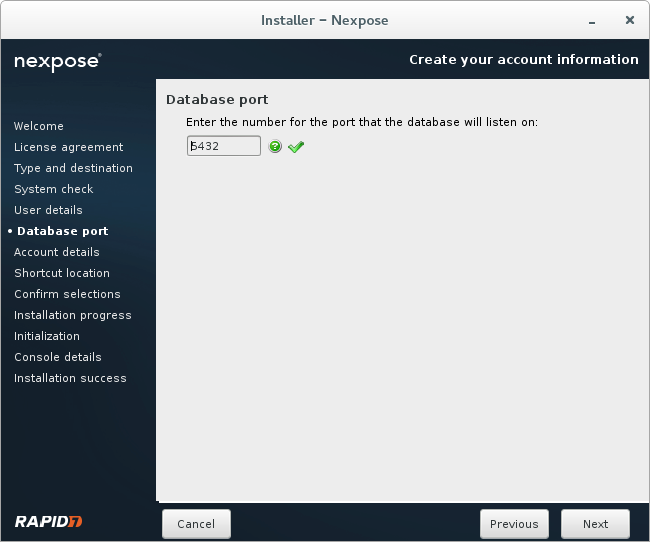
Default 8432 port for database.
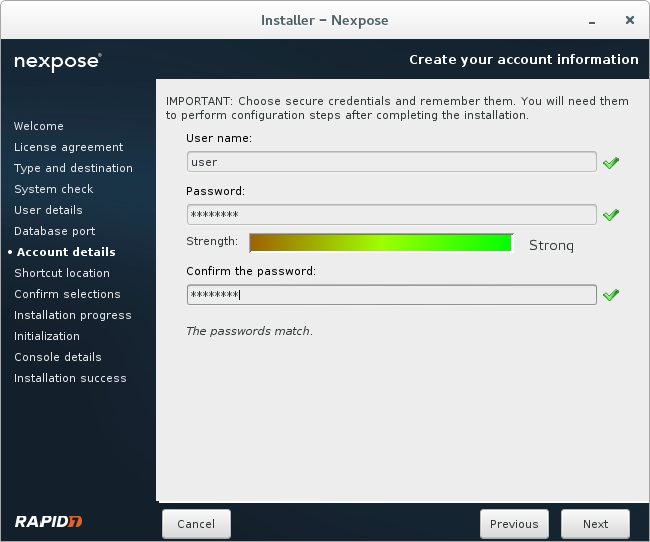
Creating a new user.
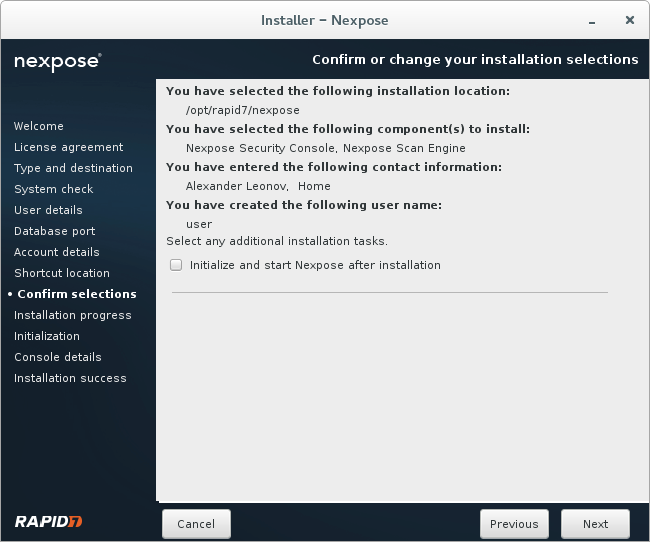
Checking configuration before installation.
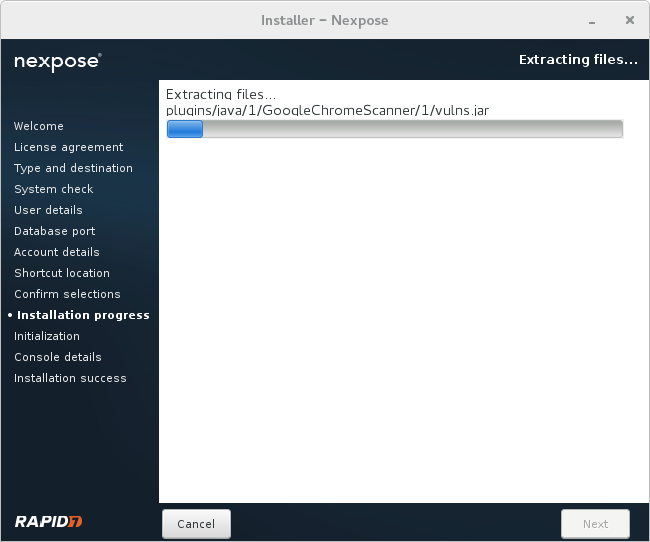
Installation process takes 5-7 minutes.
Installation is complete!
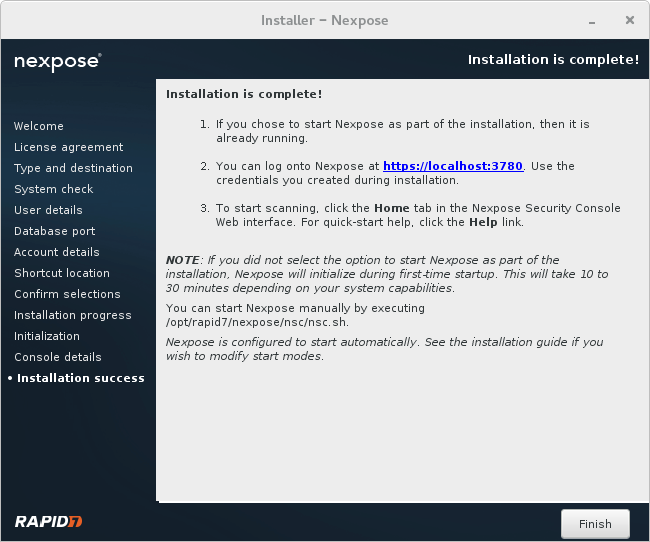
After installation you need just go to the /opt/rapid7/nexpose/nsc and run ./nsh script.
When Nexpose will started you can just go to the url https://localhost:3780 with your web browser.
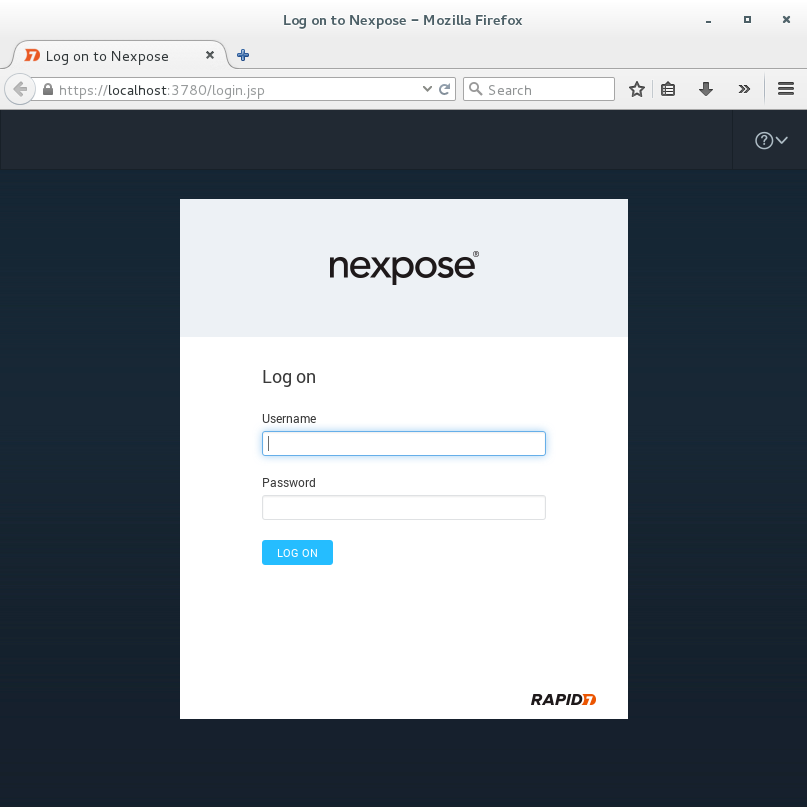
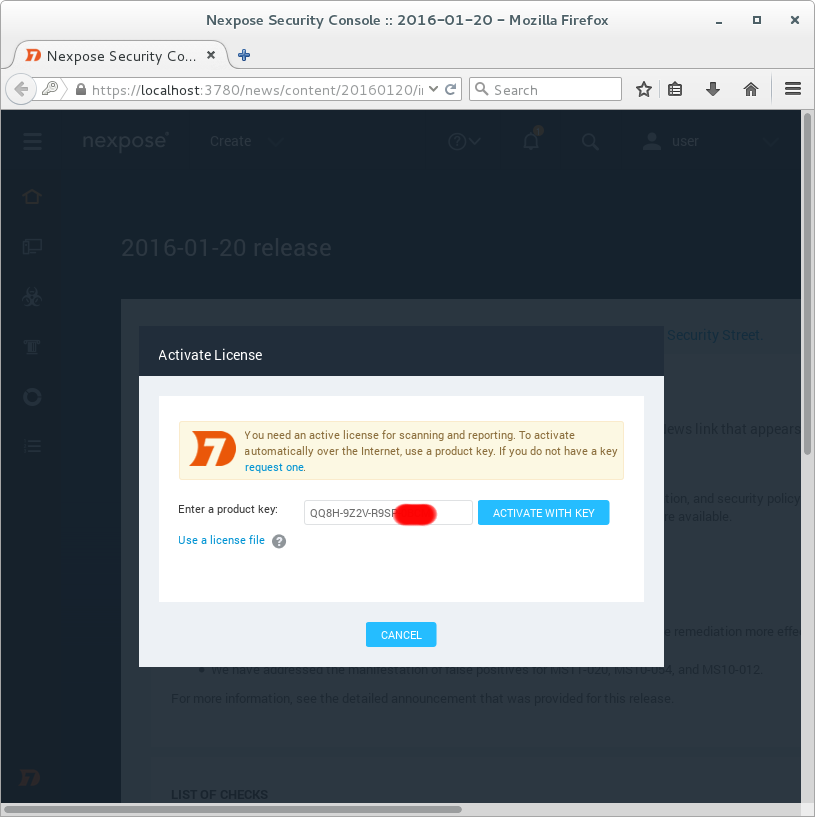
Use login and password you created during the installation. After authorization in the scanner you will need to input the key you received earlier on your email.
On this screen you see the differences between commercial and community editions of Nexpose. Only basic vulnerability scanning is available. No compliance management features.
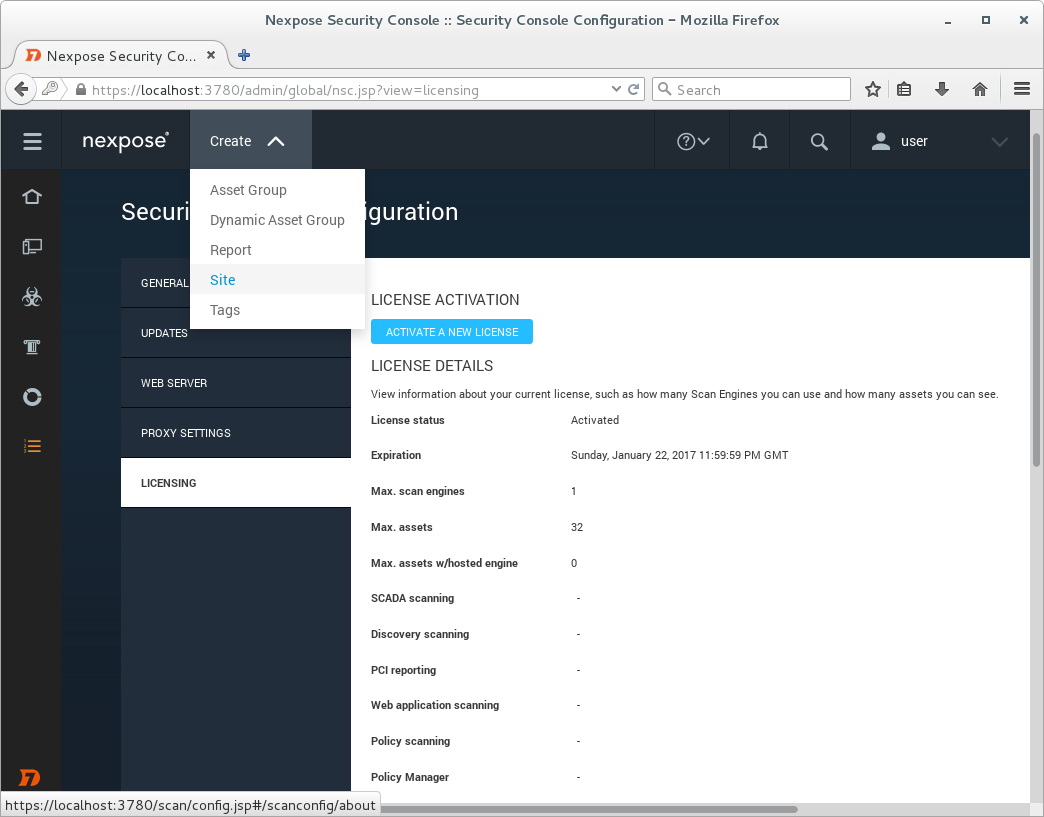
License Details
View information about your current license, such as how many Scan Engines you can use and how many assets you can see.
License status Activated
Expiration Sunday, January 22, 2017 11:59:59 PM GMT
Max. scan engines 1
Max. assets 32
Max. assets w/hosted engine 0
SCADA scanning –
Discovery scanning –
PCI reporting –
Web application scanning –
Policy scanning –
Policy Manager –
Perpetual License –
FDCC scanning –
USGCB scanning –
CIS scanning –
DISA scanning –
Custom policy scanning –
Policy Editor –
Customizable CSV Export –
Advanced reporting –
Multi-tenancy –
Scan Engine Pool –
Adaptive Security –
Dynamic Discovery –
Virtual Scanning –
Mobile –
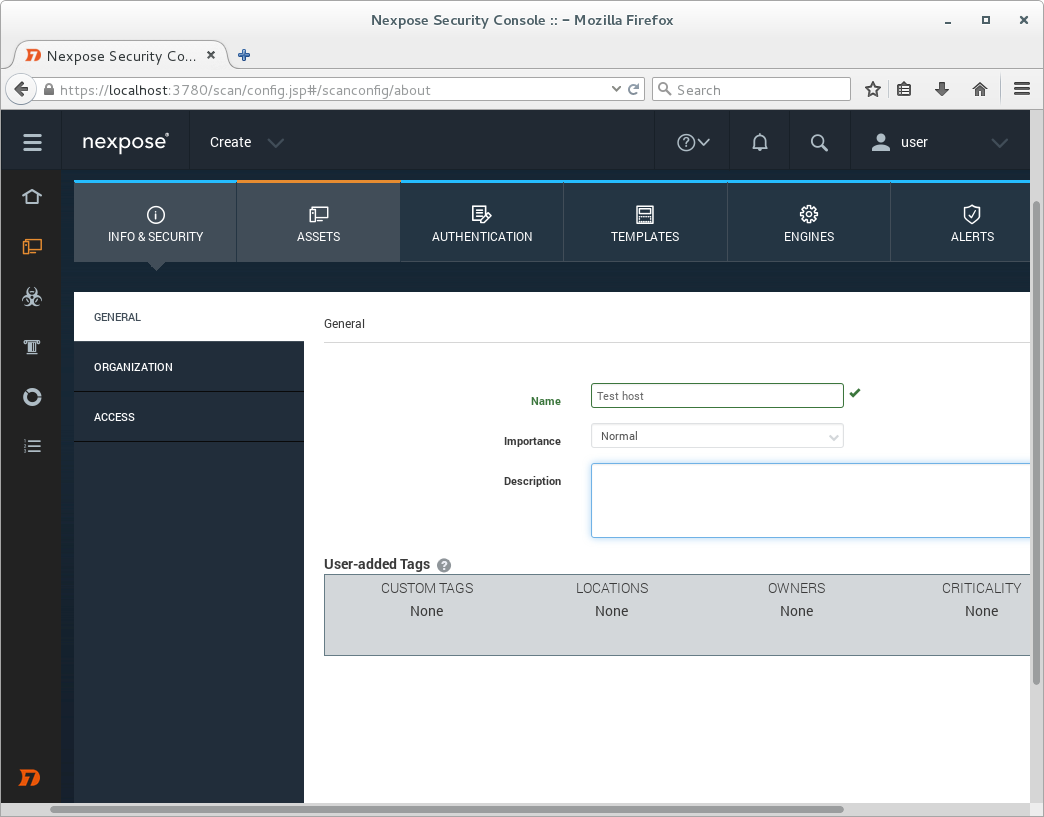
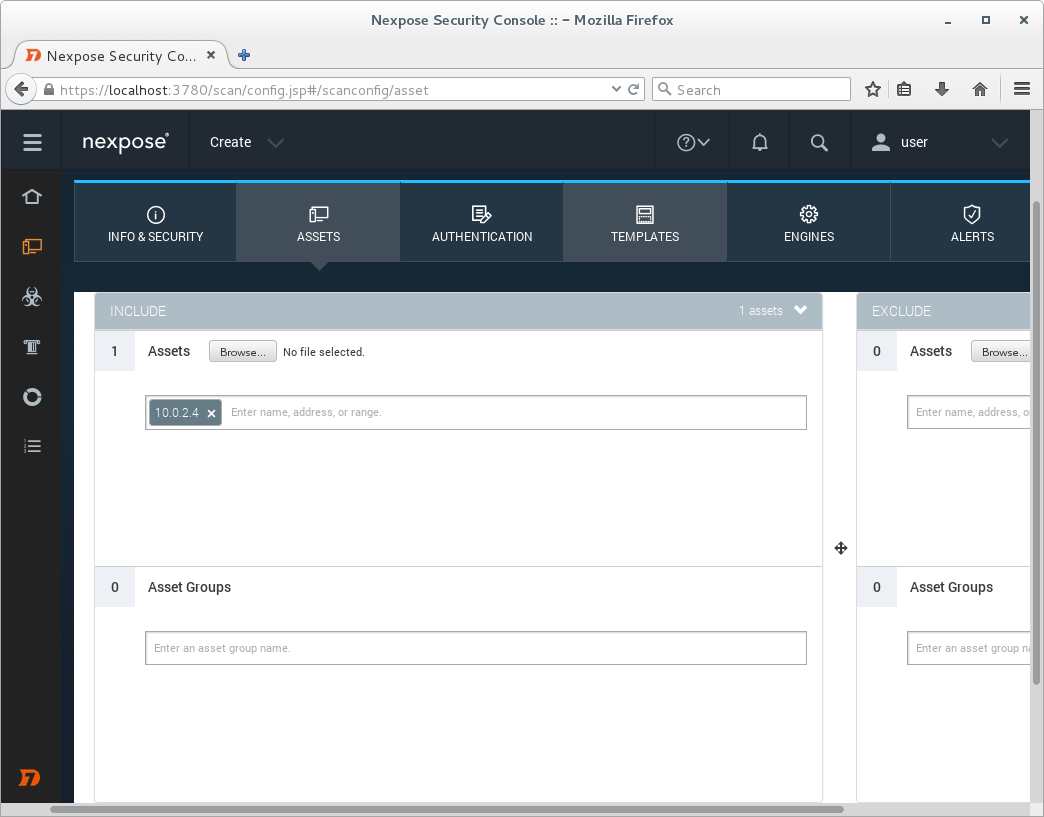
Let’s scan something. I have created another CentOS virtual machine as a target. To scan this host we need to create a new scanning entity, called “site” in Nexpose. You can see it on the previous screenshot: Create -> Site.
We will set the unique name for the Site.
Than we will input IP addresses (assets) we would like to scan.
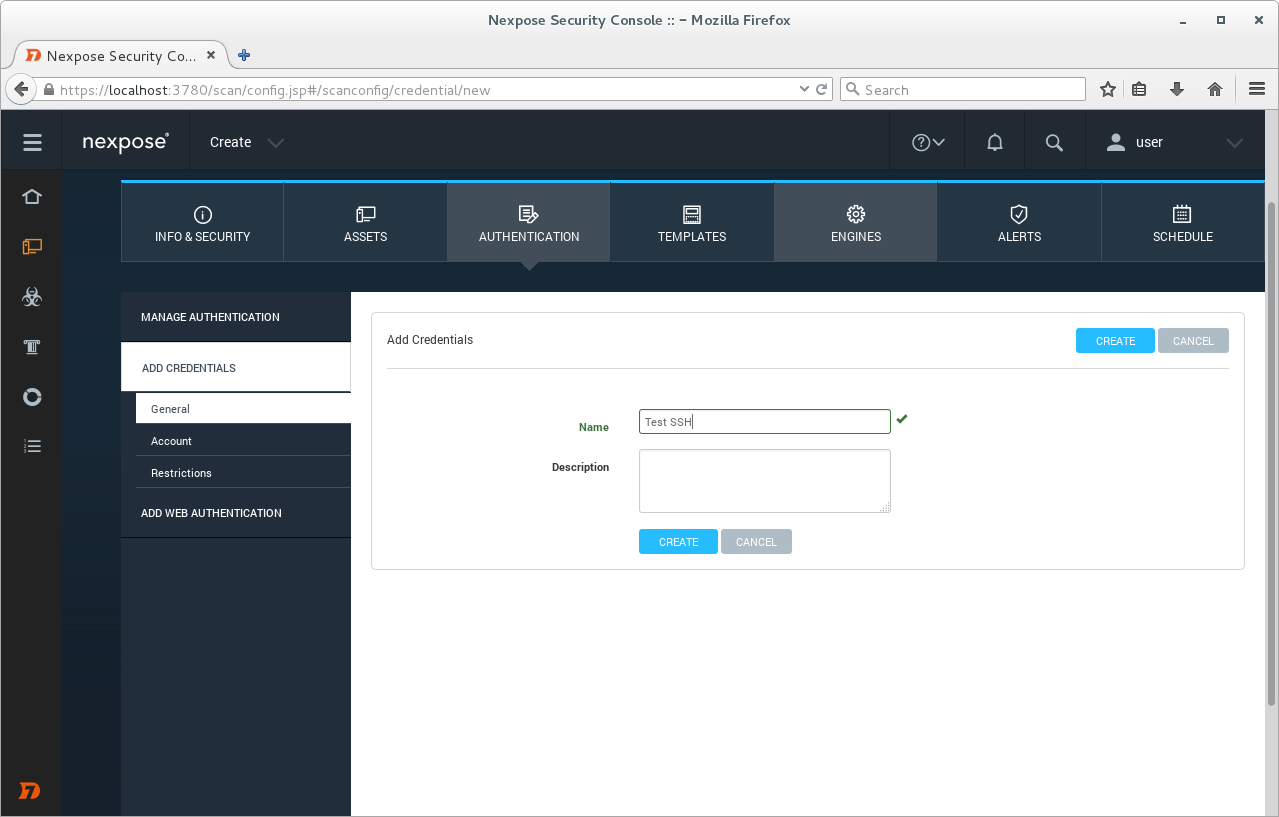
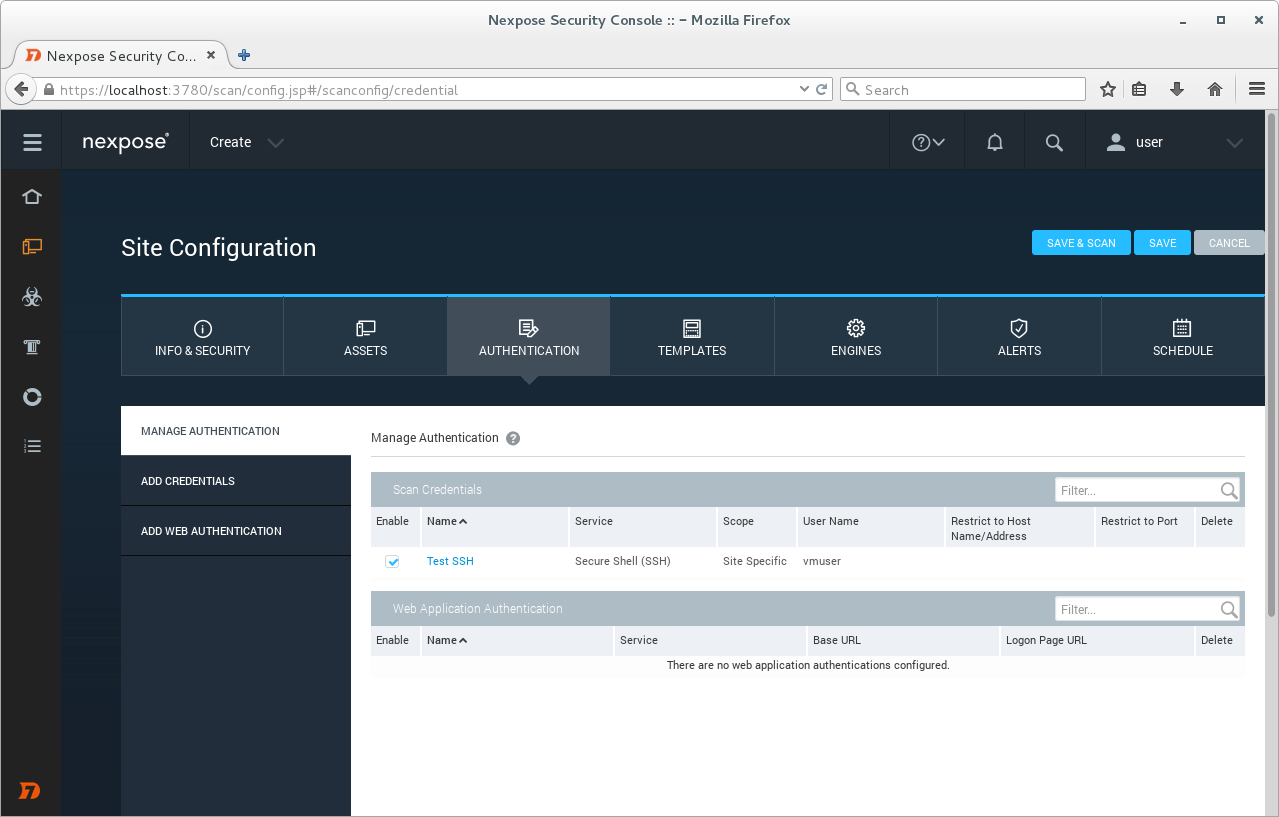
Adding credentials.
Here you can see all authentication methods we can use for credentialed scanning:
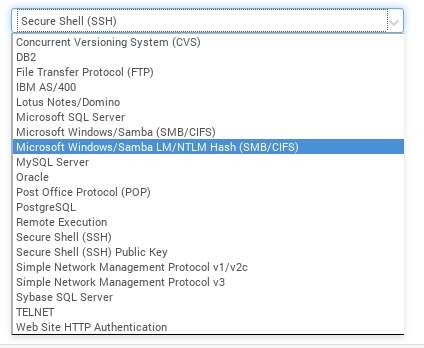
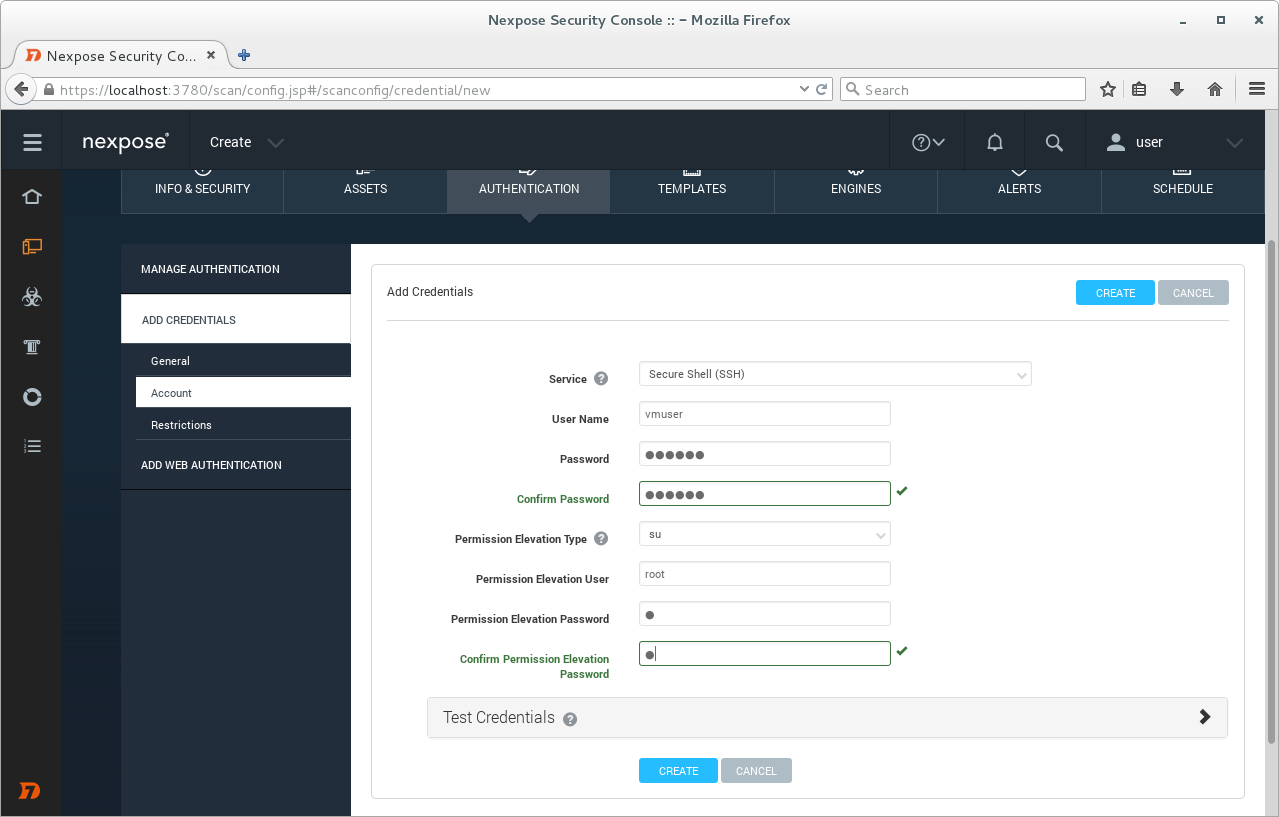
We will use Secure Shell (SSH) to connect to our target host. Filling username and password of the ssh user on the target host and root user password.
Default scanning template: Full audit without Web Spider.

Clicking on Save & Scan.
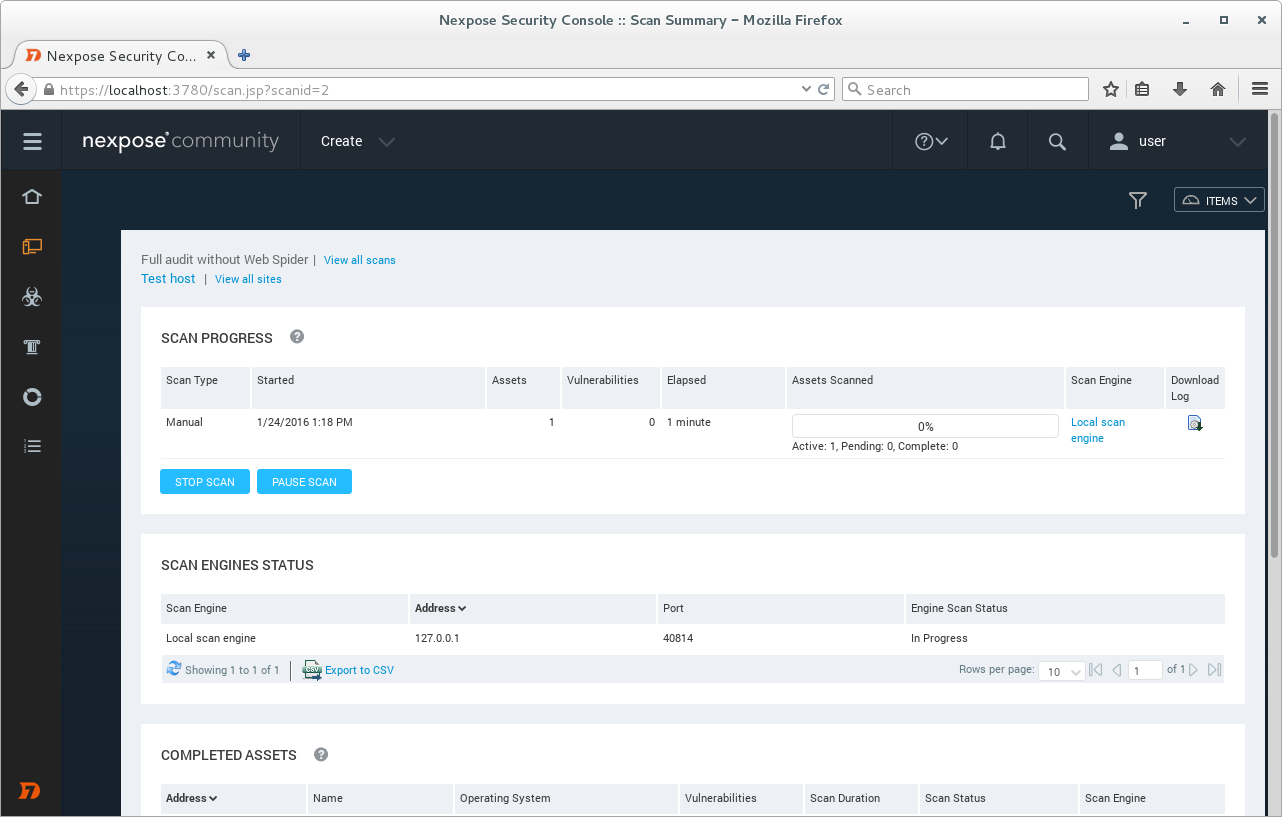
We can see the progress of the scan clicking on “View all sites”.
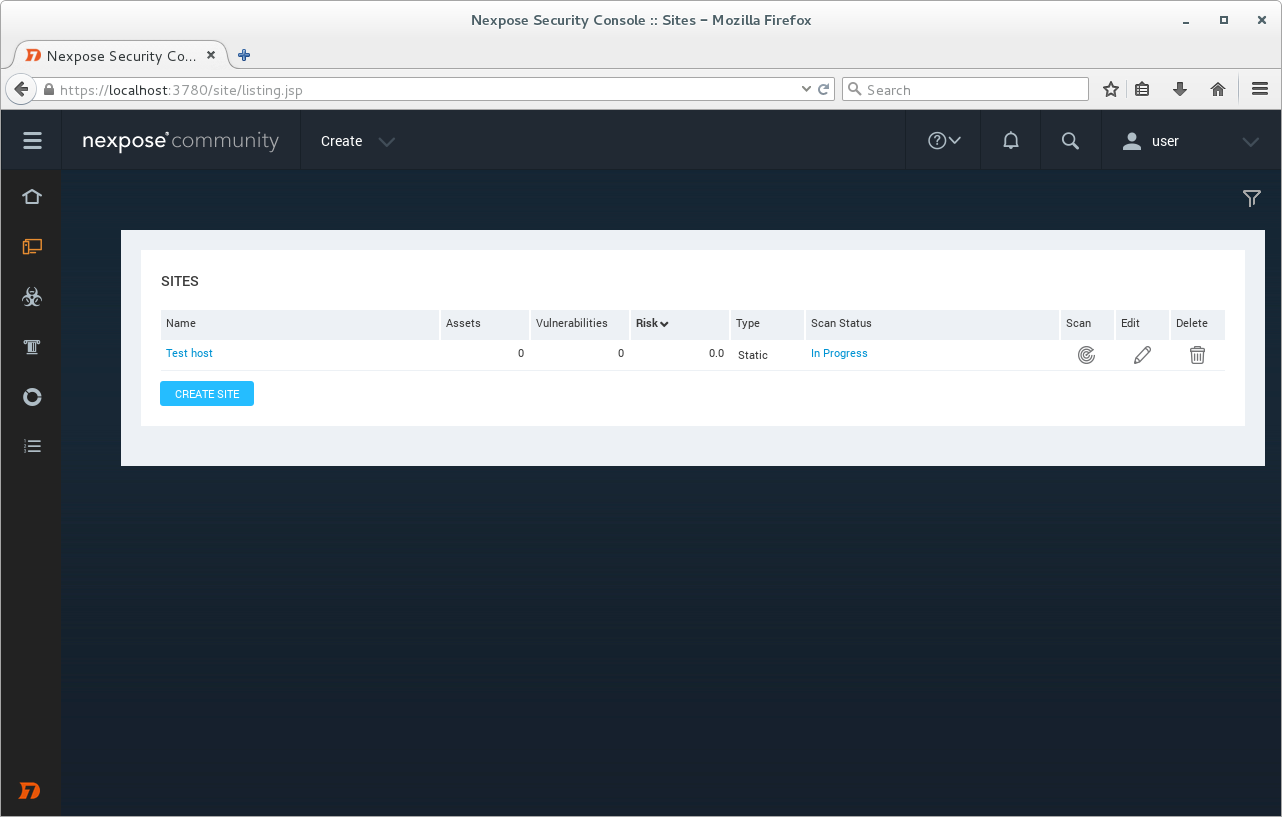
Scan is finished.
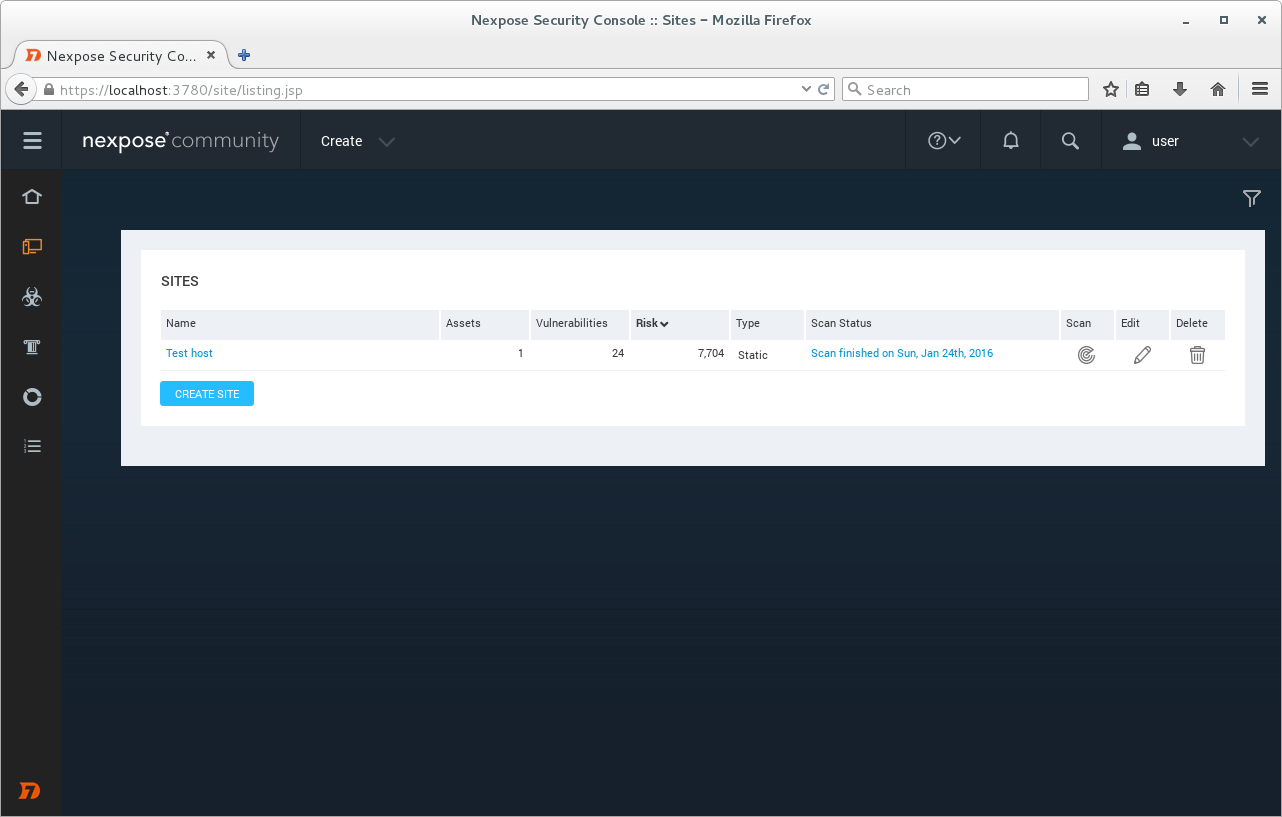
When the scan is finished we can see list of detected vulnerabilities.
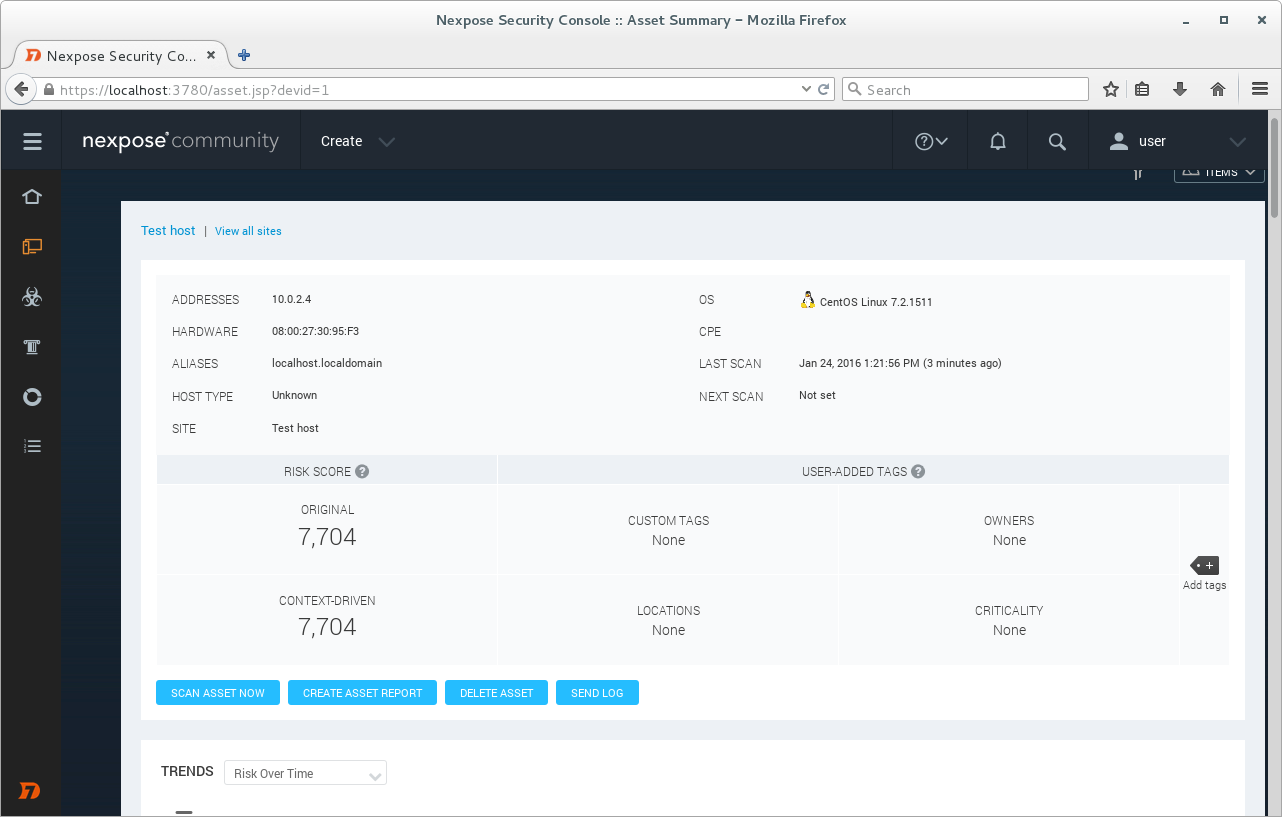
Vulnerability details.

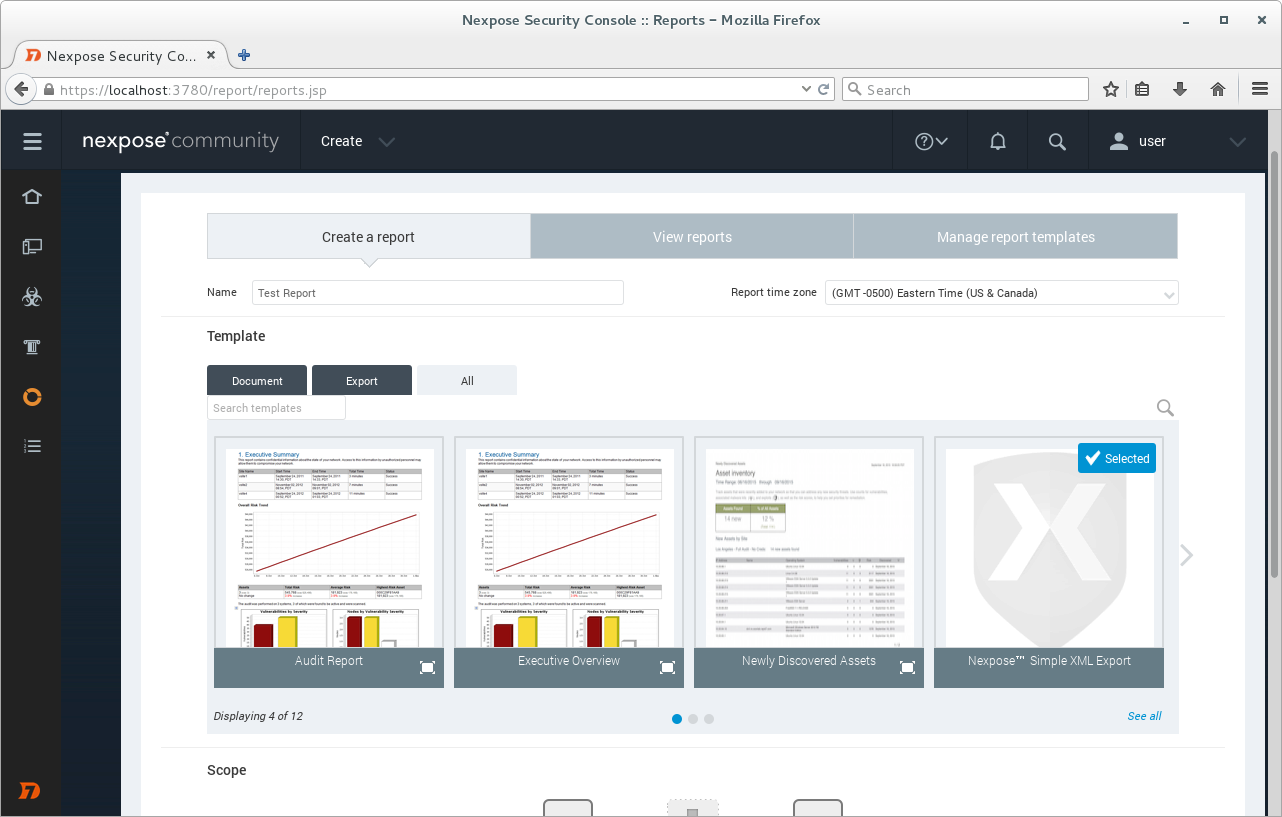
Now we will produce a vulnerability report. Create -> Report. I choose simple xml format for the report,
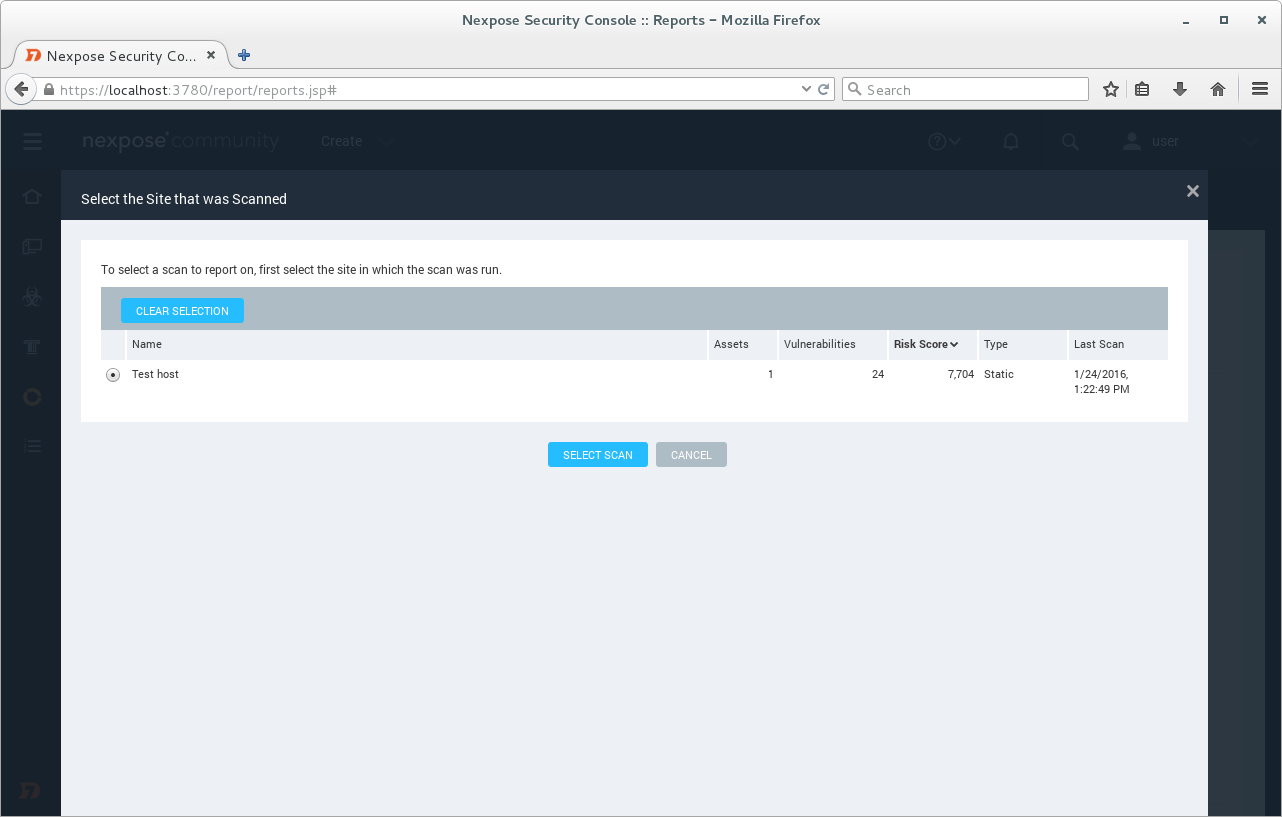
I choose the Scan.
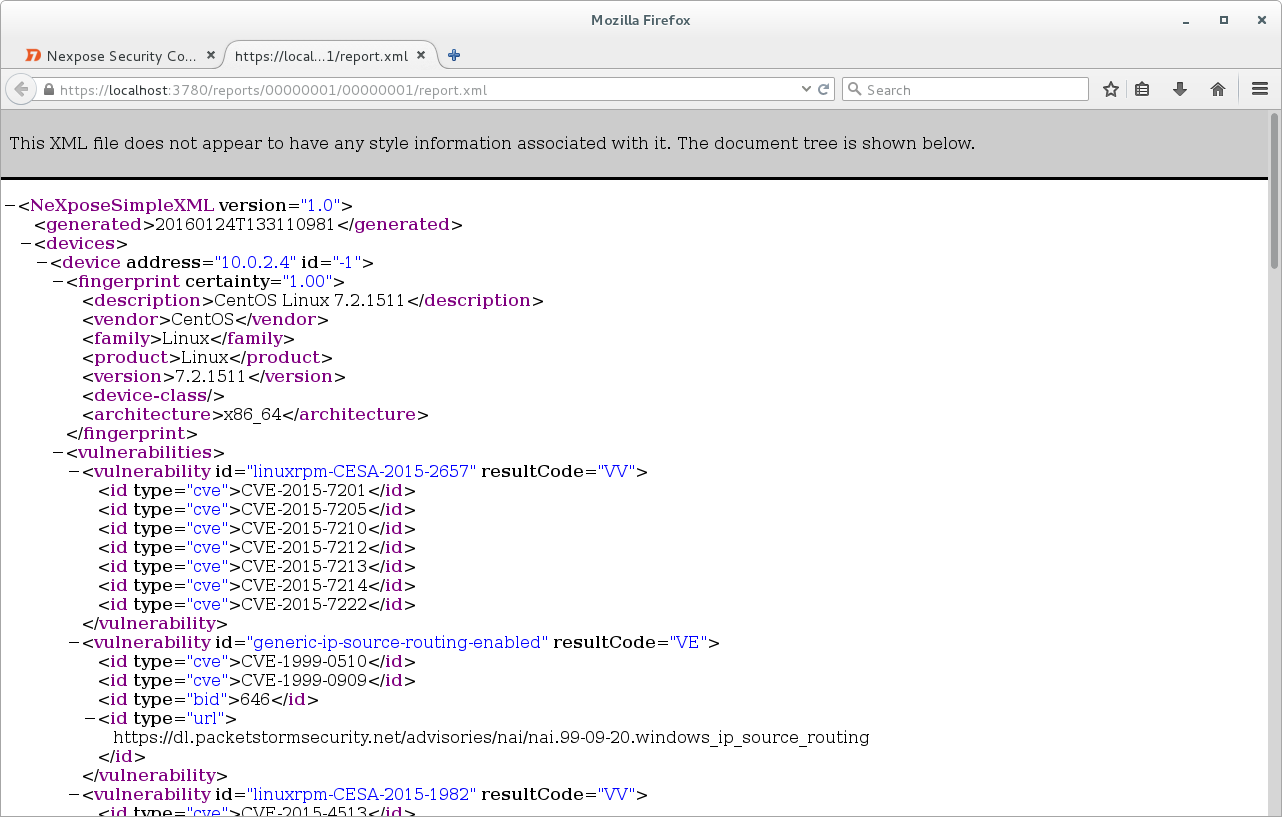
Click on button “Save & Run The Report” and here is our report.
In conclusion. Nexpose community edition is a great product for the small companies/startups with zero VM budget or for home networks. Even though it doesn’t provide configuration checks and WAS functionality, existing features are more than enough to establish efficient vulnerability management process.

Hi! My name is Alexander and I am a Vulnerability Management specialist. You can read more about me here. Currently, the best way to follow me is my Telegram channel @avleonovcom. I update it more often than this site. If you haven’t used Telegram yet, give it a try. It’s great. You can discuss my posts or ask questions at @avleonovchat.
А всех русскоязычных я приглашаю в ещё один телеграмм канал @avleonovrus, первым делом теперь пишу туда.
Pingback: An Introduction to Rapid7 Nexpose API | Alexander V. Leonov
Pingback: Tenable Nessus: registration, installation, scanning and reporting | Alexander V. Leonov
Pingback: New Vulners.com services for Linux Security Audit and Vulnerability Alerting | Alexander V. Leonov
Pingback: QSC16: from Vulnerability Management to IT Visibility | Alexander V. Leonov
Pingback: ZeroNights16: Enterprise Vulnerability Management | Alexander V. Leonov
Pingback: Rapid7 Nexpose in 2017 | Alexander V. Leonov
Pingback: First look at Tenable.io Web Application Scanner (WAS) | Alexander V. Leonov
Thanks, for your work. Seems like Nexpose’s Community Edition might no longer be available though.