
Nessus Manager and Agents. In this post I would like to share my experience with Tenable Nessus Manager. And especially how to manage agented scans with it.
First of all, I will, once again, briefly describe main editions of Nessus vulnerability management solution. Three of them, that you can deploy in your infrastructure, and one is cloud based (Nessus Cloud).
It’s of course well known Nessus Home edition, that is free for home users. Nessus Home is strictly limited by amount of IP addresses you can scan. If you try to use it in some commercial environment you might have some problems with Tenable. But for scanning some home servers and desktops, or perhaps study how vulnerability scanners work it is a really great option. You can get home license automatically after filling the registration form. I described how to register Nessus Home, configure and use it in my earlier post.
The other Nessus Professional edition is for cybersecurity professionals/individuals, who may use this product for security assessment. It is most popular version of Nessus. There is no limit in IP addresses, so you can purchase one license for Nessus Professional scanner and theoretically scan everything in your organization. The cost of the scanner is just about $2,000. Very reasonable price comparing with other competitors. It also supports multiple user accounts.
If Nessus professional does such a beautiful job, why should anybody want something else? The answer is managing multiple connected vulnerability scanners and local agents. You can configure another edition, Nessus Manager, to run scan tasks from remote connected Nessus Professional scanners. You can also configure Nessus Manager to run audit and compliance scan tasks with locally installed Nessus agents. And it is the only way to do it. Even if you’ve already purchased some expensive Enterprise Vulnerability Management product from Tenable, such as Tenable Security Center or Tenable Security Center Continuous View you still will need to pay extra ~$3,000 – $5,000 for Nessus Manager if you want to use local agents.
Nessus Cloud is like Nessus Manager but it is hosted on remote Tenable servers.
Why may you need to use local agents for scanning? The most of obvious reasons is that in this case you won’t need to manage accounts for authenticated scan. You can also check how Qualys made Agented Scanning and compare it with Tenable approach bellow.
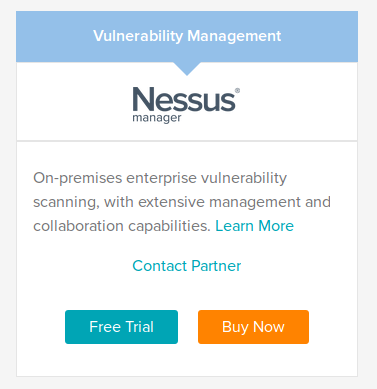
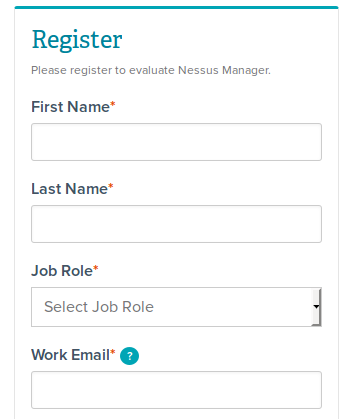
To request trial version of Nessus Manager press “Free Trial” button at How to Buy page and fill out the form with your contact information.
In the form you should specify your First Name*, Last Name*, Job Role*, Work Email*, Phone Number*, Company Name*, Address*, City*, Country*, State/Province, Customer Type*, Requested Product Size* (from 128 IPs to 1 mln IPs). Fields with asterisks (*) are mandatory. Available customer types: End User or Reseller/Consultant/VAD.
Filled the form? Now you should wait for ~1 business day.
A Tenable representative will contact you shortly and send you a link to another registration form.
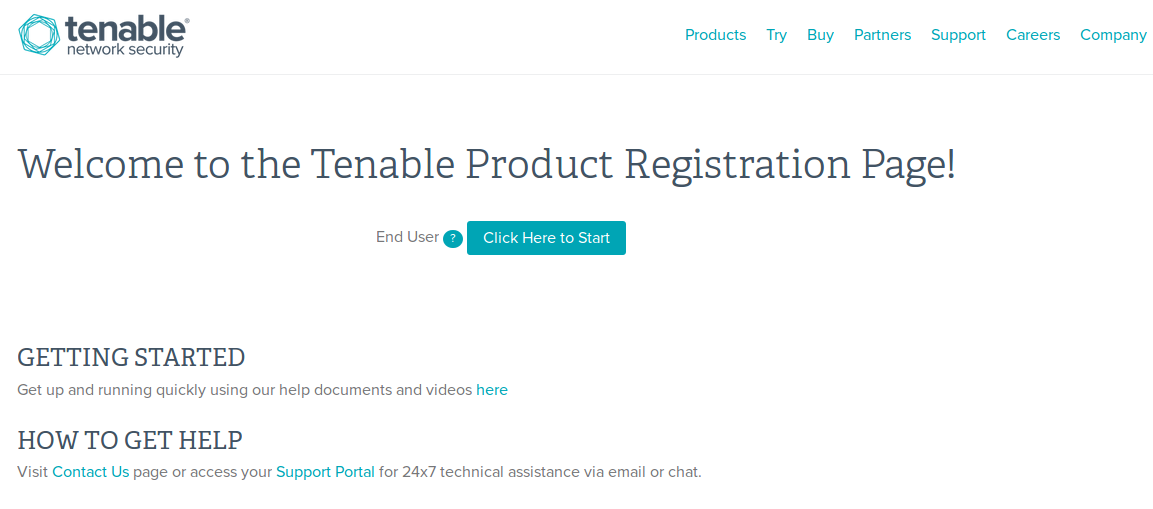
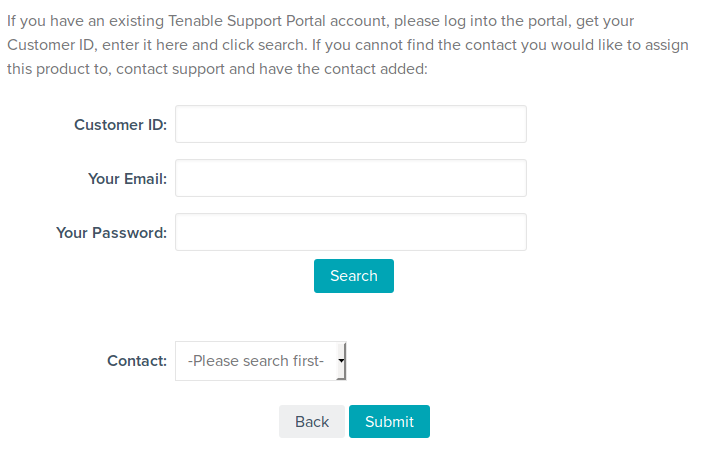
For second registration form you will need your Customer ID. If you have already purchased something from Tenable, you should have Tenable Support Portal account. You can find Customer ID in upper-right corner of Support Portal main page. Otherwise, contact support.
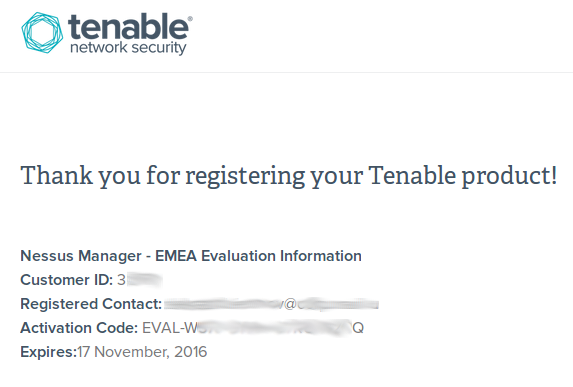
What data about Nessus Manager evaluation you will get after your registration process is finished? Customer ID, Registered Contact, Activation Code. Expiration Date. By default trial period lasts 2 weeks. To install Nessus Manager you will need only the Activation Code.
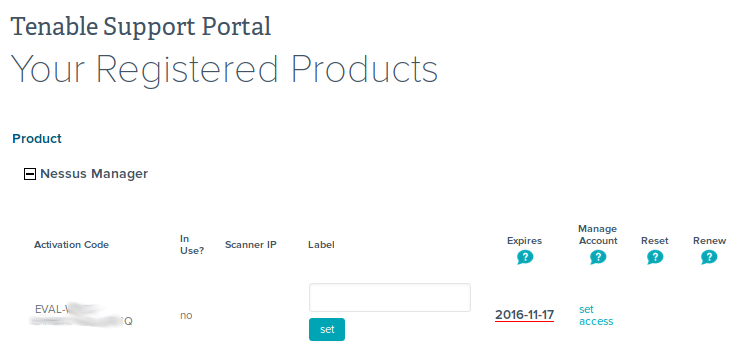
You will see the same activation code for Nessus Manager with expiration date in your Tenable Support Account:
Installation process for Nessus Manager looks exactly the same as for Nessus Home. You just need to input different activation code and another edition will be installed and configured.
I have downloaded the same package for Nessus Home, Professional and Manager from “Downloads” section of Tenable support portal: Nessus-6.9.0-es5.x86_64.rpm – Nessus 6.9.0 for Red Hat ES 5 / CentOS 5 / Oracle Linux 5 (including Unbreakable Enterprise Kernel) – x86_64
Tenable recently released beautiful web-version of official installation and configuration manual, that is available remotely without registration. Built-in search interface is very helpful:

I tested Nessus Manager in CentOS VirtualBox virtual machine. The only non-standard configuration I made was host-only network. You can see how to configure it in my post about OpenVAS installation after “Couple of words about VirtualBox testing stand I used”. BTW, you can also try OpenVAS – free and open source Vulnerability Management solution 😉
192.168.56.101 is IP address of my further Nessus Manager host. I send Nessus-6.9.0-es5.x86_64.rpm package there:
scp Nessus-6.9.0-es5.x86_64.rpm vmuser@192.168.56.101:/home/vmuser

vmuser@192.168.56.101's password:

Nessus-6.9.0-es5.x86_64.rpm 100% 34MB 34.0MB/s 00:00
And then go to the host and install it with rpm tool:
ssh vmuser@192.168.56.101
# rpm -ivh Nessus-6.9.0-es5.x86_64.rpm
warning: Nessus-6.9.0-es5.x86_64.rpm: Header V3 DSA/SHA1 Signature, key ID edc8e186: NOKEY
Preparing… ################################# [100%]
Updating / installing…
1:Nessus-6.9.0-es5 ################################# [100%]
Unpacking Nessus Core Components…
nessusd (Nessus) 6.9.0 [build M20070] for Linux
Copyright (C) 1998 – 2016 Tenable Network Security, Inc
Processing the Nessus plugins…
[##################################################]
All plugins loaded (1sec)
– You can start Nessus by typing /sbin/service nessusd start
– Then go to https://192.168.56.101:8834/ to configure your scanner
# /sbin/service nessusd start
Starting nessusd (via systemctl): [ OK ]
NB: Do you know how to disable firewall in latest CentOS? It’s not ‘/etc/init.d/iptables stop’ ;-). Of course, it’s better configure firewall properly, but for PoC you may just disable it with this commands:
# systemctl stop firewalld

# systemctl status firewalld

● firewalld.service - firewalld - dynamic firewall daemon

Loaded: loaded (/usr/lib/systemd/system/firewalld.service; enabled; vendor preset: enabled)

Active: inactive (dead) since Ср 2016-11-02 21:08:38 MSK; 59s ago

Main PID: 642 (code=exited, status=0/SUCCESS)
ноя 02 20:41:54 st91.i systemd[1]: Starting firewalld – dynamic firewall daemon…
ноя 02 20:41:55 st91.i systemd[1]: Started firewalld – dynamic firewall daemon.
ноя 02 21:08:37 st91.i systemd[1]: Stopping firewalld – dynamic firewall daemon…
ноя 02 21:08:38 st91.i systemd[1]: Stopped firewalld – dynamic firewall daemon.
Well, it’s time to open Nessus web GUI in browser: https://192.168.56.101:8834/
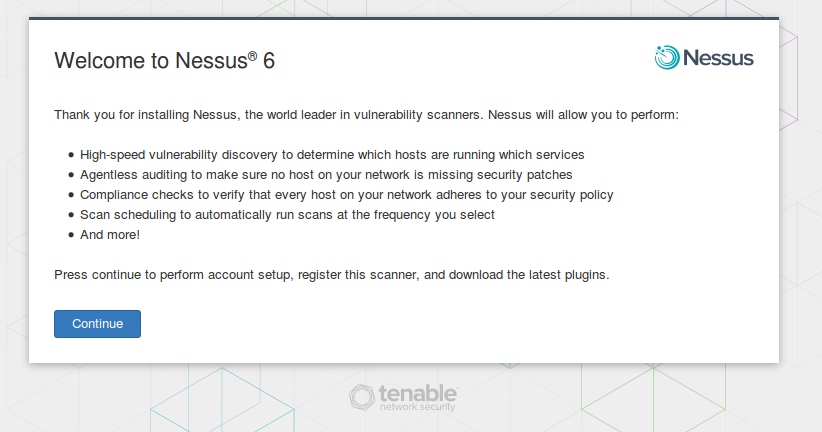
Input activation code, create Nessus administrator user. And here it is.
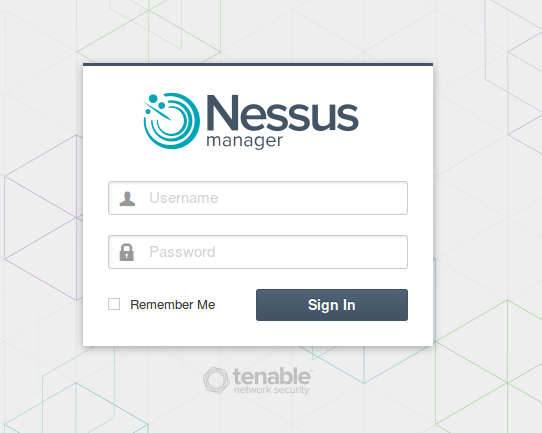
Nessus Manager looks exactly the same as Nessus Professional edition. The only difference in settings tab. Here you can configure remote connected scanners and local agents.
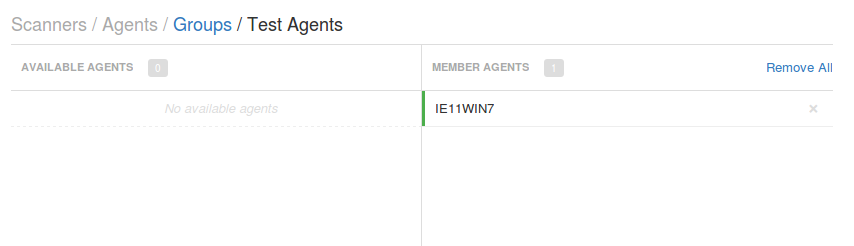
When you need to assess hosts with active scanner you must specify list of hostnames or IP addresses. Right? In case of agents, you will need to specify a group of agents. To make such group let’s open page https://192.168.56.101:8834/#/settings/scanners/agents/groups
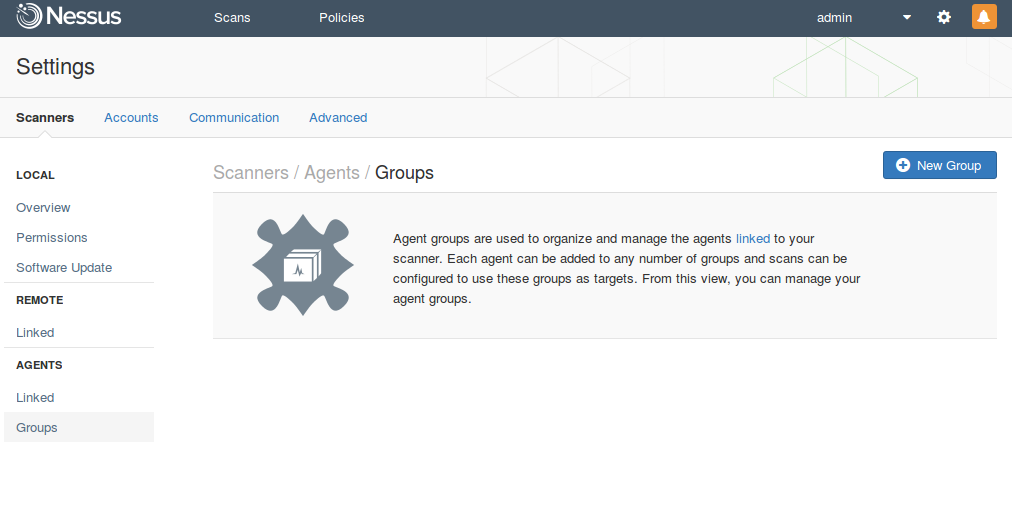
I created new group with name “Test Agents”.
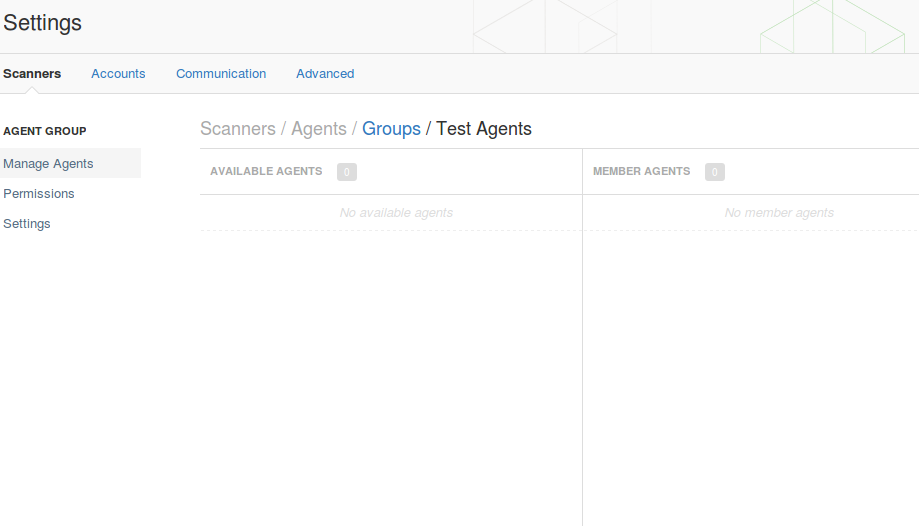
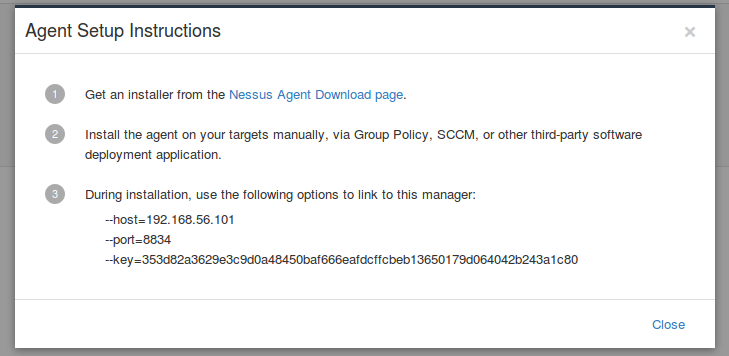
Now I can add new agents to this group. It’s easy. I just need to get an Nessus Agent installer from this special download page at Tenable website (it’s available even for unregistered users). Then install the agent on your target host manually, or using group policy, SCCM or third party software deployment application.
During the installation you need to specify your Nessus Manager host, it’s port and the key.
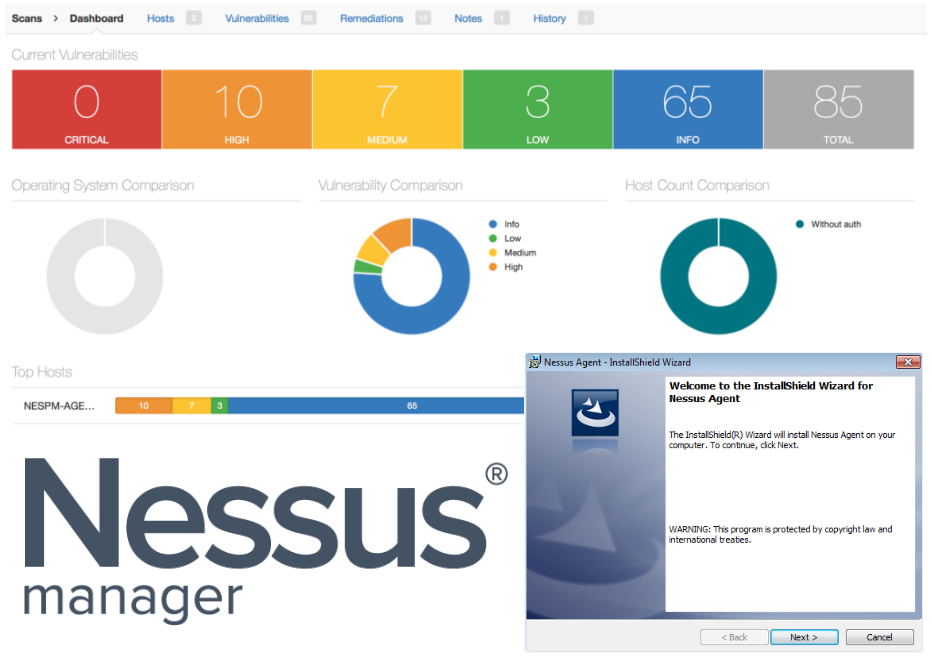
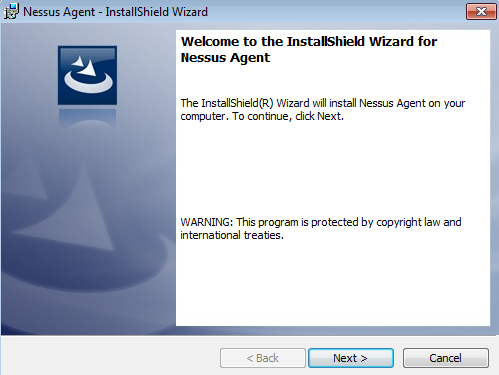
I will install Nessus Agent on a windows virtual machine. Nessus Agent weights about 30 megabytes.

Installation process is trivial.
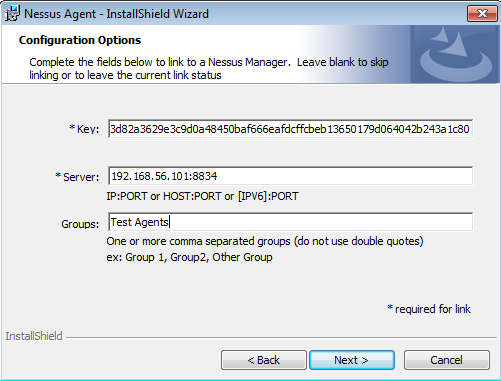
I just filled required parameters:
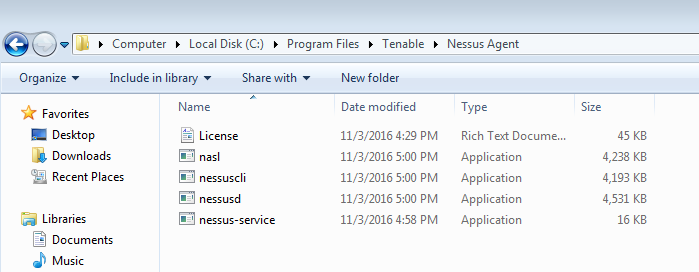
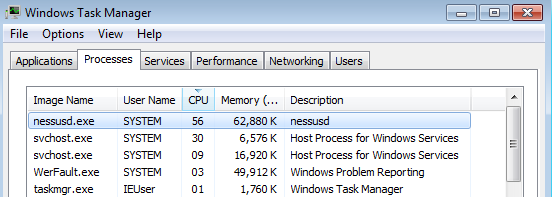
By default all Nessus Agent files will be installed to “C:\Program Files\Tenable\Nessus Agent”. As you can see files installed on the host are pretty familiar. The same files you can find you in any Nessus Scanner installation: nasl for plugins processing and nessuscli for console interface. It looks like Nessus Agent is a normal active Nessus Scanner but without graphical user interface and limited to assess only localhost.
You can see Nessus daemon process in Windows Task Manager:
Soon after installation new agent will appear in my “Test Agent” group. Unlike Qualys Cloud agents, Tenable Agents don’t send all necessary information about host to the scanner automatically. They just establish the connection and make some registration procedures.
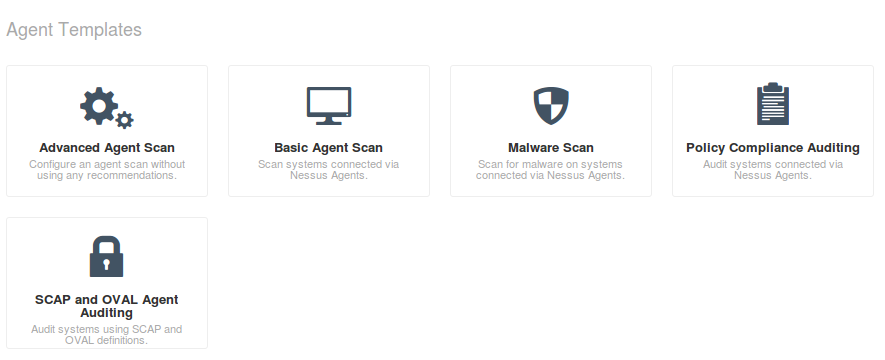
To assess the host with installed Nessus Agent you need to create a new scan and specify one of the templates for Agents: Advanced Agents Scan, Basic Agent Scan, Malware Scan, Policy Compliance Auditing and or SCAP/OVAL Agent Auditing. I want to figure out what vulnerabilities exist on my Windows host so I choose basic Agent Scan.
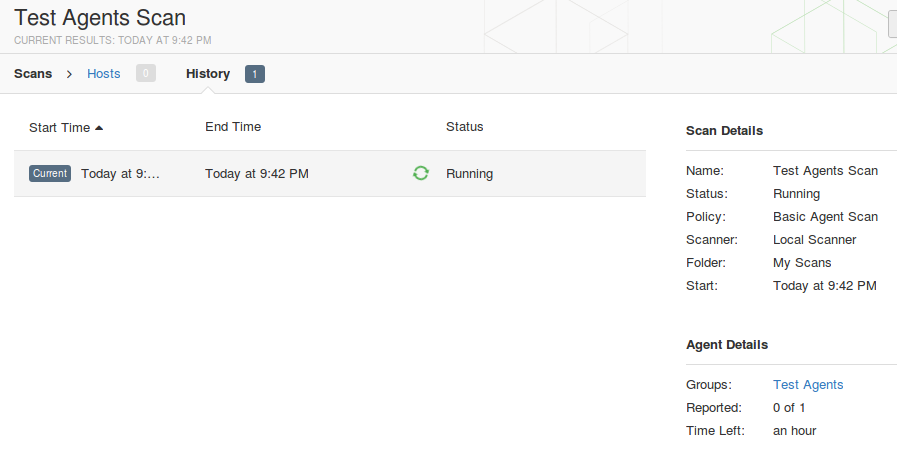
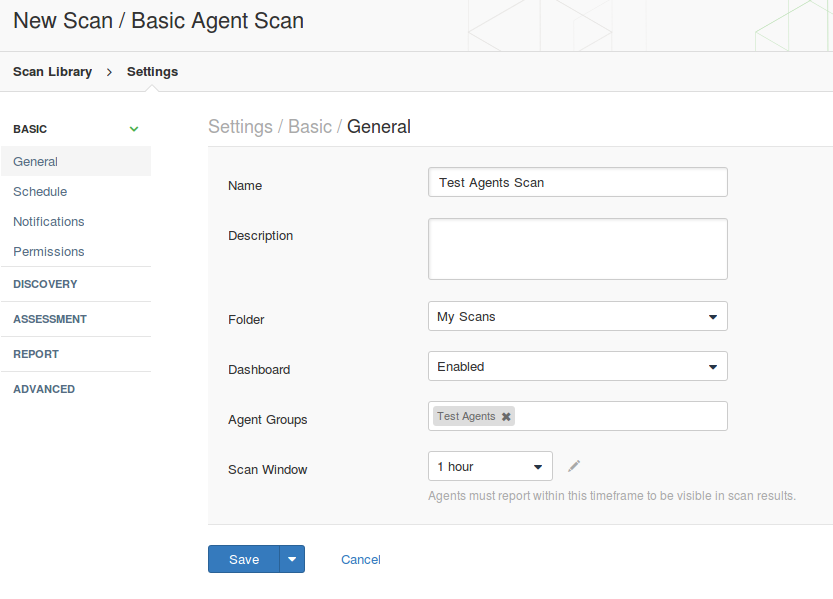
As you can see, in scan settings you need to specify group of agents you need to asses; scan window – amount of time Nessus Manager will wait for the scan results from Nessus Agents; dashboards – feature available for Nessus Manager and Nessus Cloud, that makes possible to present scan results in form of beautiful diagrams end tables.
The only difference is that in Nessus Manager you can’t see scan results before the scan process is finished. Nessus Manager collects the results from the Nussus Agents and all the processing is going on the host.
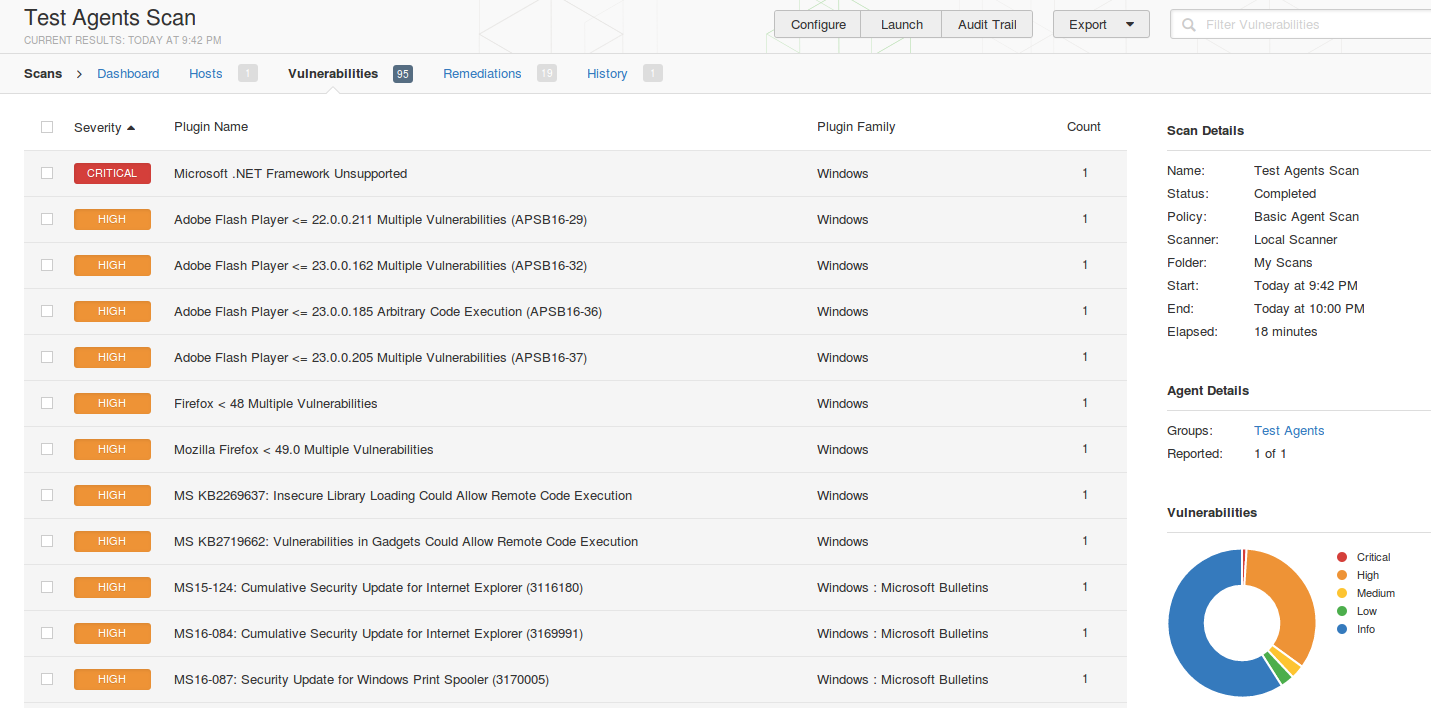
The scan results are the same you can expect from authenticated Windows scan. On the screenshot you can see several Microsoft, Adobe and Mozilla Firefox vulnerabilities.
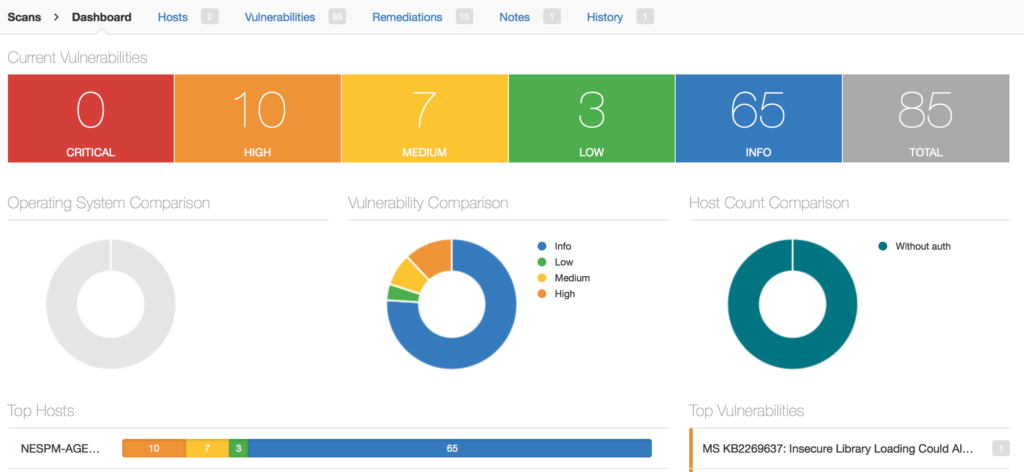
Nessus Manager dashboards contain information about current vulnerabilities, detected operating systems, criticality of founded vulnerabilities, top vulnerable hosts and most widespread vulnerabilities. New dashboards in Nessus Cloud seem to be more informative, but this one also not bad. Unfortunately, I haven’t took dashboard screenshot before my trial period finished, so this picture from official “Endpoint Security with Nessus® Agents” article.
Out of scope of this post:
- What’s the difference in managing agented scans via API in Nessus Manager, comparing to managing active scans via API in Nessus Professional?
- Does Nessus Cloud scan reports use the same xml reports?
- How does Nessus Manager scanning with linked Nessus Professional works?

Hi! My name is Alexander and I am a Vulnerability Management specialist. You can read more about me here. Currently, the best way to follow me is my Telegram channel @avleonovcom. I update it more often than this site. If you haven’t used Telegram yet, give it a try. It’s great. You can discuss my posts or ask questions at @avleonovchat.
А всех русскоязычных я приглашаю в ещё один телеграмм канал @avleonovrus, первым делом теперь пишу туда.
Pingback: Tenable Nessus: registration, installation, scanning and reporting | Alexander V. Leonov
Pingback: Dealing with Qualys Cloud Agents | Alexander V. Leonov
Pingback: Installing Nessus for SecurityCenter on laptop | Alexander V. Leonov
Pingback: ZeroNights16: Enterprise Vulnerability Management | Alexander V. Leonov
Pingback: What’s actually new in Tenable.io VM application | Alexander V. Leonov
Pingback: Rapid7 Nexpose in 2017 | Alexander V. Leonov
Pingback: Vulners Cloud Agents for Vulnerability Management | Alexander V. Leonov
Pingback: Carbon Blacking your sensitive data it’s what the agents normally do | Alexander V. Leonov
Hi, I would like to know, can we replicate the vendor name in against of the vulnerabilities found e.g. If vulnerability related to Java / oracle we get the vendor name respectively.
Pingback: New Nessus 7 Professional and the end of cost-effective Vulnerability Management (as we knew it) | Alexander V. Leonov
Pingback: Microsoft security solutions against ransomware and APT | Alexander V. Leonov
Pingback: Using Nessus and Metasploit - Security Awareness
Pingback: Using Nessus and Metasploit Together