In this blog I am writing mainly about VM market leaders. Most of them are US-based companies. However, there are vulnerability management solutions that are popular only in some particular country or region. About some of them you maybe have not even heard. At the same time, these solutions are rather interesting.
Vulnerability Scanner I want to present today, was initially developed by nSence company from Espoo, Finland. It was named “Karhu”, a “bear” in Finnish. In June 2015 antivirus company F-Secure has bought nSense and formed it’s Cyber Security Services department. The scanner was renamed in F-Secure Radar. Not to be confused with IBM QRadar SIEM 😉
Solution structure is similar to Qualys and Nessus Cloud. There is a remote server that provides a web interface: portal.radar.f-secure.com. You can scan your perimeter using the remote scanner. To scan the hosts within the network, you should deploy the Scan Node Agent on a Windows host.
Registration
To get started, you need to set password for a new user. You will receive registration link from the vendor.
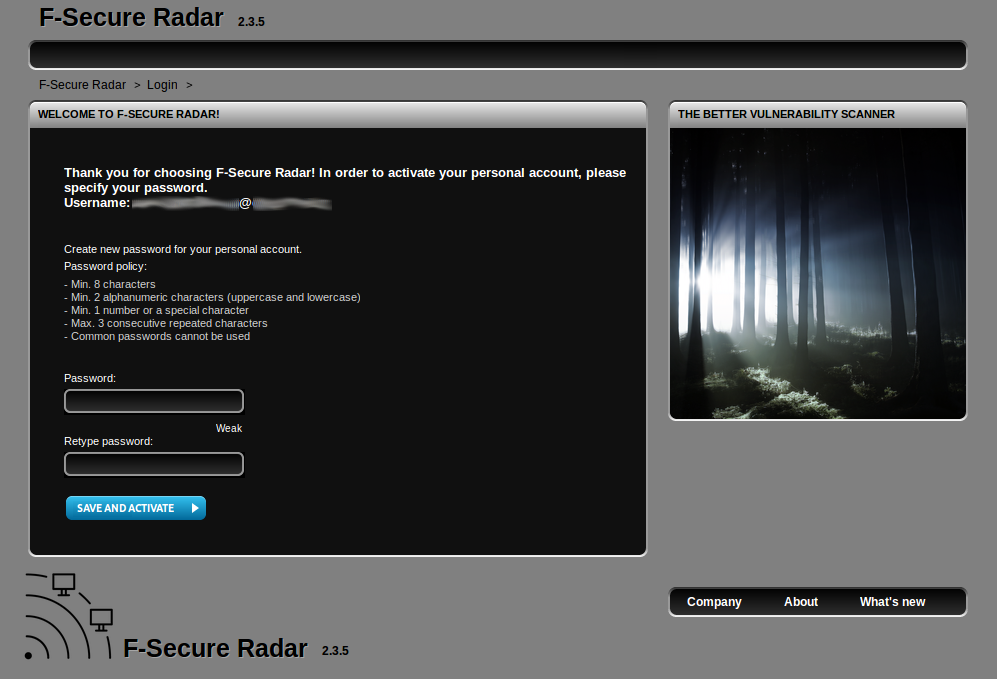
First login in a new account:

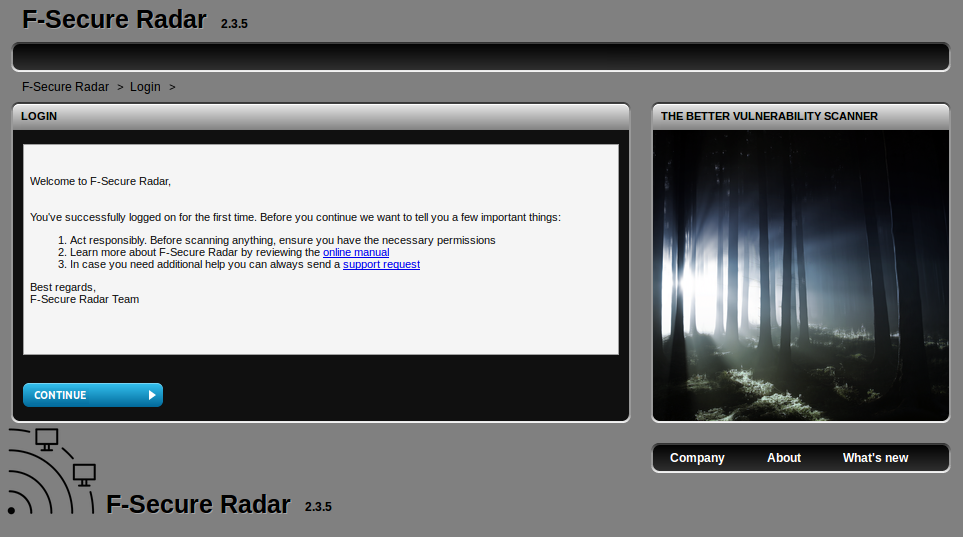
Accept license agreement:

Check F-Secure Radar manuals:
First view
Main menu is quite clear:

- Dashboard
- Vulnerability scan
- Discovery scan (Separate mode!)
- Reporting
- Vulnerabilities
- Settings
- Help
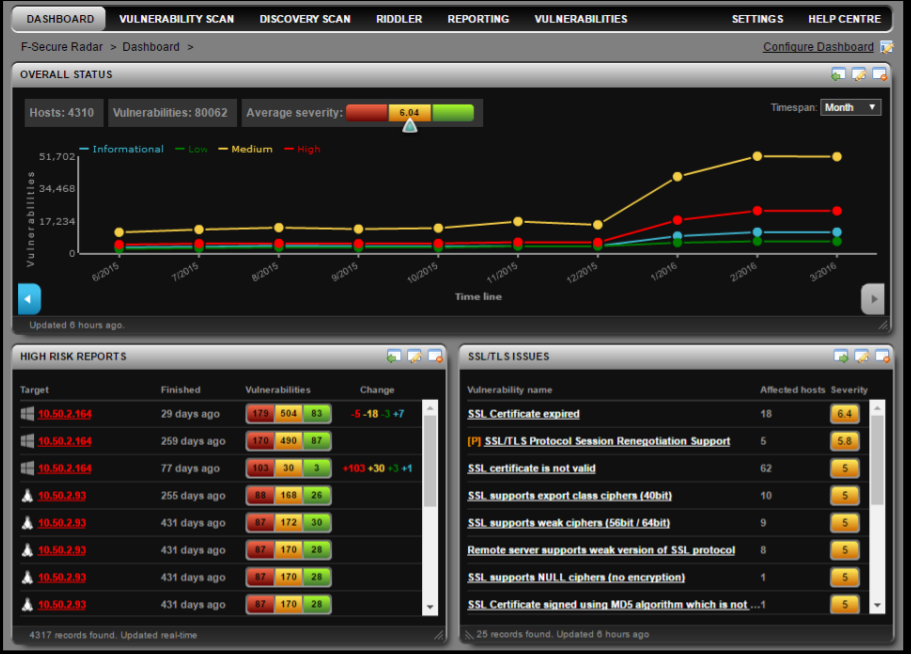
Unfortunately, I don’t have enough data to show it on the dashboards. So I had to use a picture from official presentation. By the way, it’s pretty interesting. Check it to understand view of F-Secure on Vulnerability Management.

Available widgets:
- Overall status
- Vulnerabilities by status
- Latest reports
- High risk reports
- Most severe system scan vulnerabilities
- Running scans
- Upcoming scans
- My assigned tickets (Yep, they have ticketing system)
- Scan statistics
- Average vulnerabilities per host
- Average vulnerability status per host
First attempts to scan something
I will describe next how I was trying to create a scan and what surprises I discovered.
Of course, it is all described in manuals. But who is reads the manual 😉
At Vulnerability Scan tab, you can configure a System scan or Web application Scan.
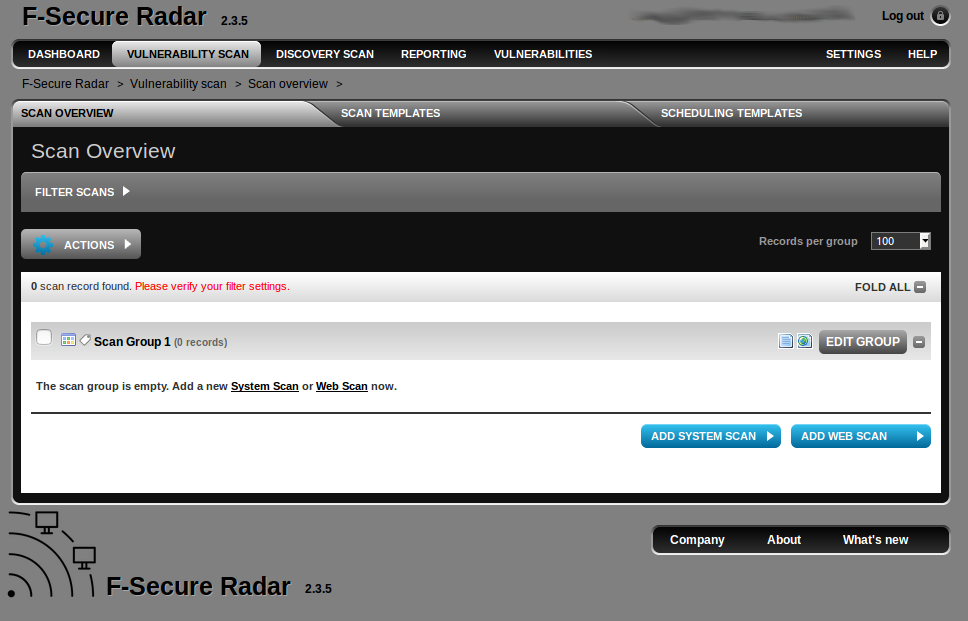
I try to set a range for scanning some Systems…
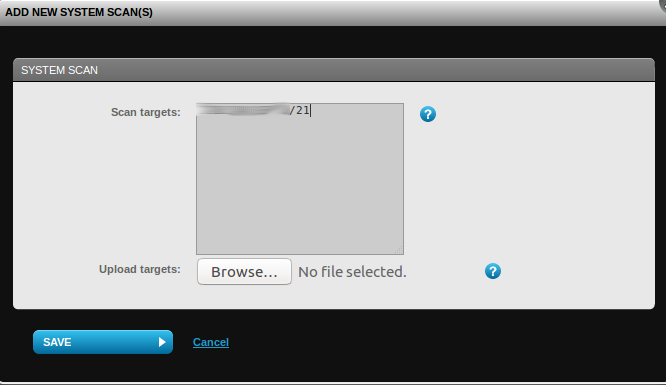
And I’vegot an error:

In the F-Secure ideology, Vulnerability Scan is for assessment of known IPs. Detection of active hosts is made in Discovery Scan. An interesting approach, I have never seen it before.
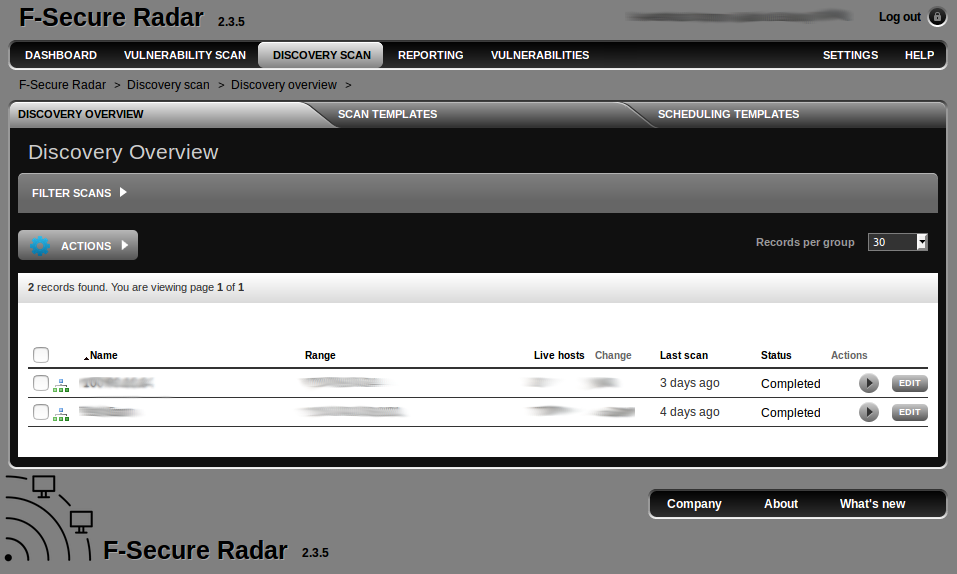
Discovery Scanning
Discovery scanning is simple. You just specify the range, scanner (Scan Node), run the scan and wait until it is finished.
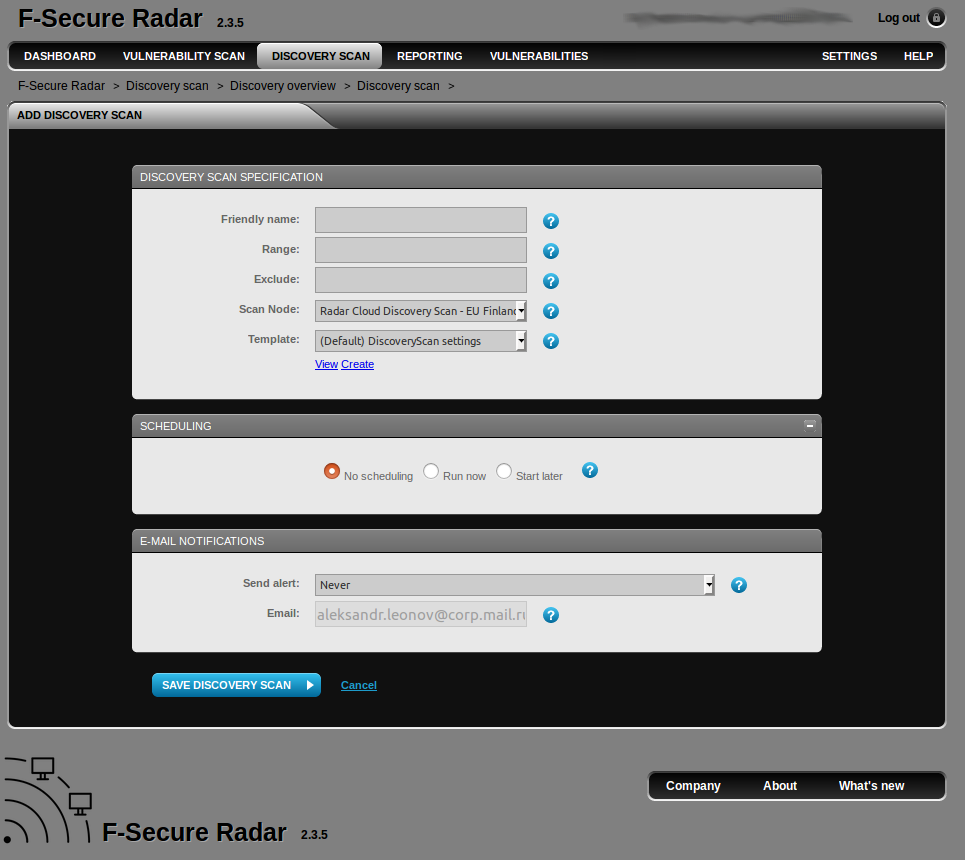
Note that the range must be only one and must be written in one of the formats:

Range should contain less then 4096 IPs, or you will get this error:
![]()
Discovery scan with external scanner takes quite a long time. Vulnerability scan of the test range with Qualys (full port scan enabled in profile) took 17 hours. Discovery scan of the same range in F-Secure Radar took 2 days and 9 hours. On the other hand these things are hard to compare, because it’s not clear exactly was checked.
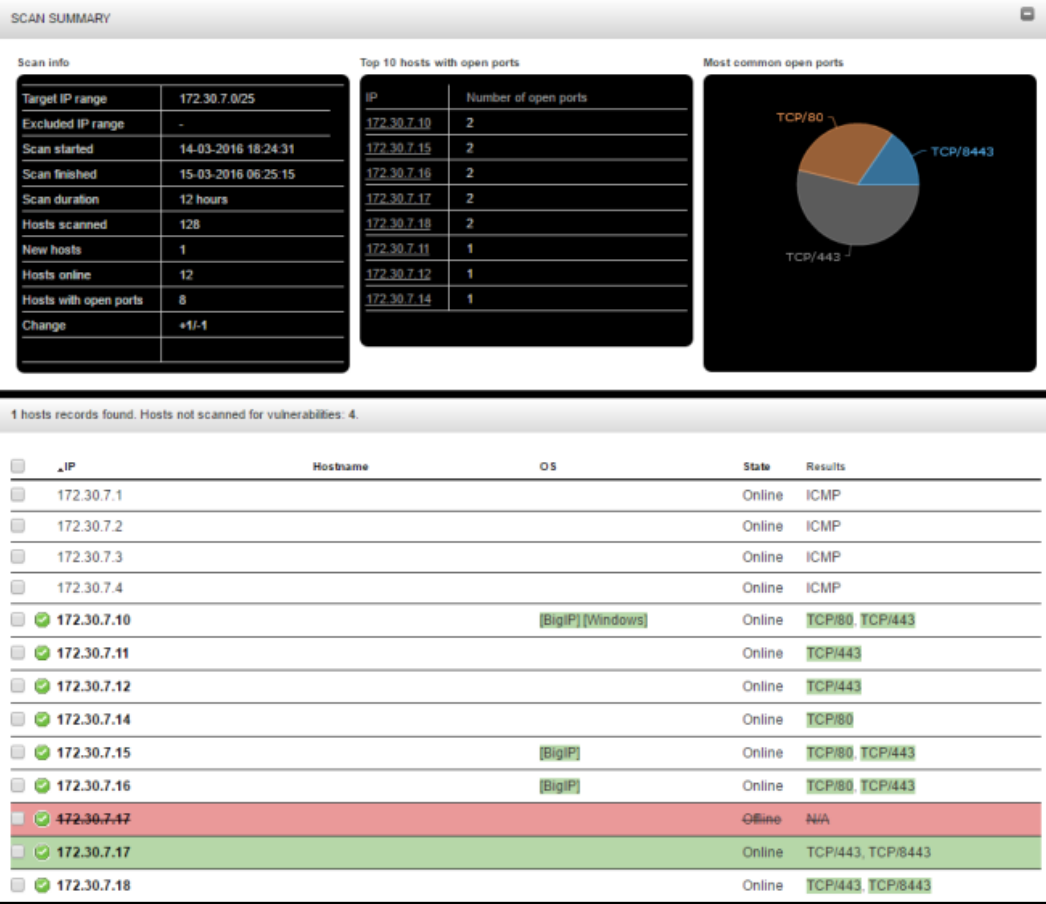
In the results, you can see a list of hosts and open ports statistics (this picture is also from official presentation, sorry for quality):
Back to the Vulnerability Scanning
Want to scan the hosts inside your network? You need to deploy a Scan Node Agent. Something similar to Qualys Appliance.
Scan Node system requirements:
- Windows Server 2012 R2 (yep, you need a Windows server)
- Microsoft .NET Framework 3.5 SP1 (Install .NET 3.5 through “Add Roles and Features” wizard)
- Microsoft .NET Framework 4.0 Full
- Microsoft .NET Framework 4.5
- WinPcap 4.1.x or later
- Microsoft Visual C++ 2010 Redistributable Package (x86) (Note: It must be version 2010 x86)
- Local or Active Directory user with admin rights is required during the installation
Hardware
- Minimum 8 GB RAM
- Minimum 2 GHz processors
- Minimum 60 GB system 60 GB data hard disks
Network access to
- https://updates.radar.f-secure.com/ (Radar Update Service)
- https://portal.radar.f-secure.com (Radar Security Center)
- If a proxy server is used it must allow the following HTTP request methods: GET, HEAD and POST towards mentioned web services
Distribution file will have a name like:
Radar_Scan_Node_Agent_installer_with_license_XXX_v2.4.1.877_20160901.exe
It’s a 7z archive. File size is 10.6 Mb.
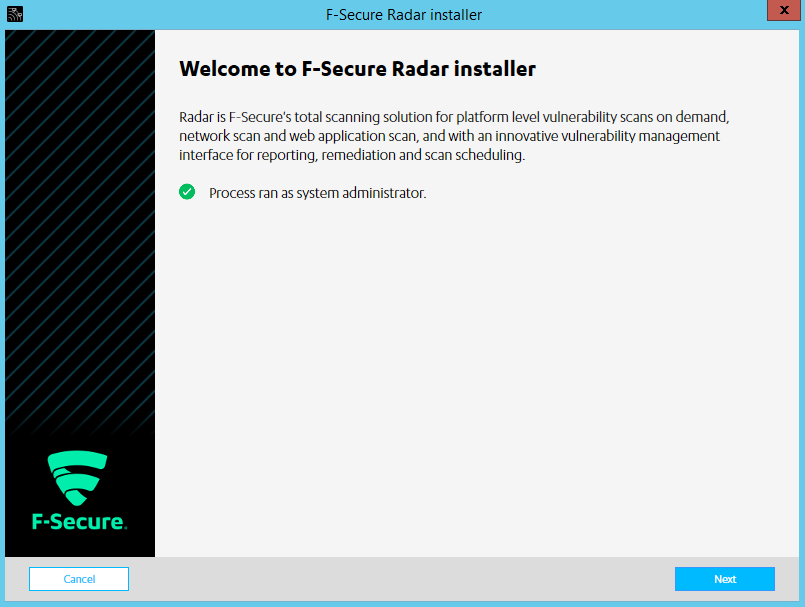
Setup process is trivial. You just need to press “Next” all the time and input local admin password once.
In Scan Node Agent GUI you can see what scans are going on right now:
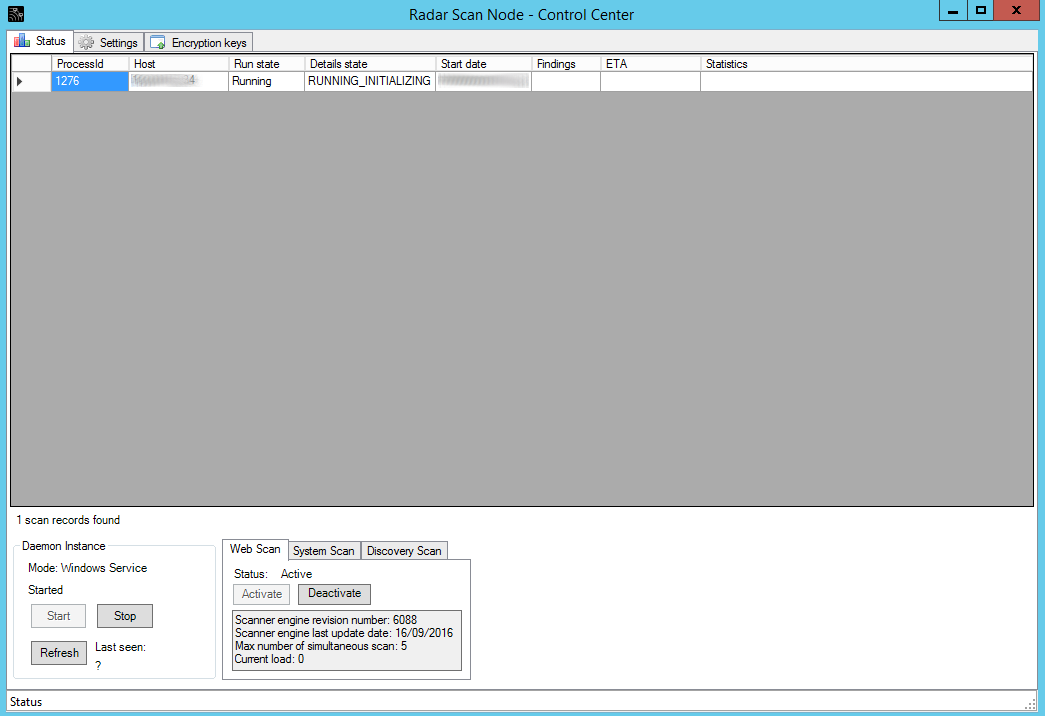
You can also redefine some scanning parameters in the Settings tab:

What about the keys? You can’t just setup credentials for authenticated scanning in F-Secure Radar web interface. You need to configure encryption keys to store credentials on F-Secure remote server and to transfer credentails to the Scanning Node safely.

I think it would be easier for end-user if F-Secure configure keys in automatic mode, but it works that way.
Configuring the keys
Download OpenSSL toolkit for Windows at http://gnuwin32.sourceforge.net/packages/openssl.htm. Extract it, go to the “bin” folder.
Run:
openssl genrsa -out private_key.pem 4096

openssl rsa -pubout -in private_key.pem -out public_key.pem
We got private_key.pem and private_key.pem
Public key we upload to the F-Secure Radar server:
F-Secure Radar -> Settings -> Account

And Private key for the Scanning Node:
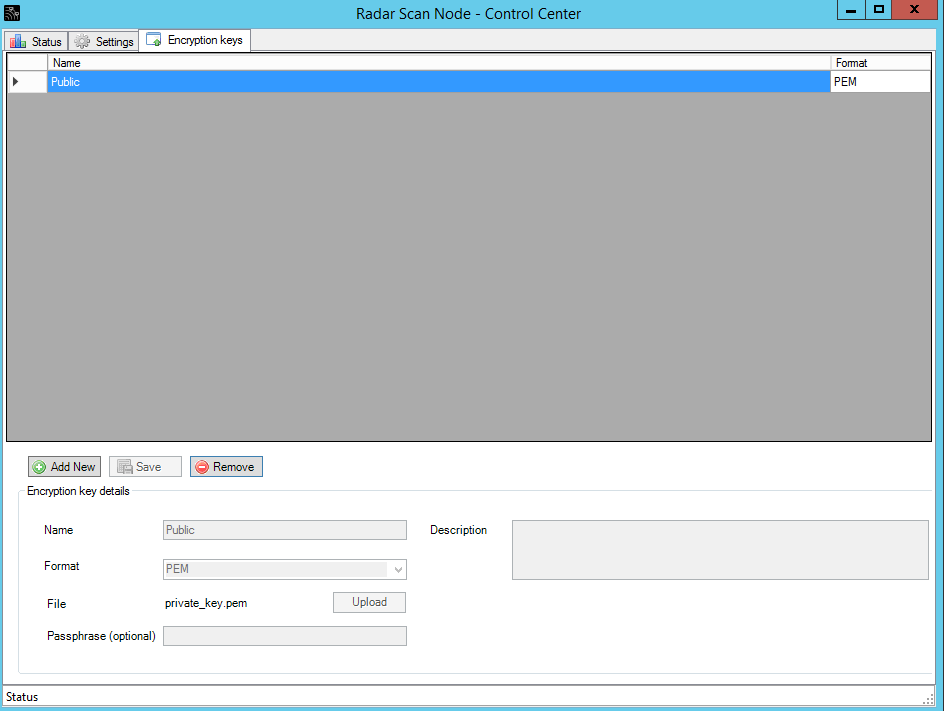
Don’t ask me why I am naming private_key as “Public”. The idea is that names of the keys must be the same name on the F-Secure server and the Scanning Node sot they could link to each other.
Authenticated Vulnerability Scanning
Now we are ready to scan some host in internal network with authentication.
What systems F-Secure Radar can scan with authentication?
- Windows
- Linux
- CentOS
- Debian ( “sid”, and versions from 7 to 9 )
- Oracle Linux (version 5 and higher)
- Red Hat
I will try to scan CentOS host.
Settings for the Vulnerability scanning in F-Secure Radar:
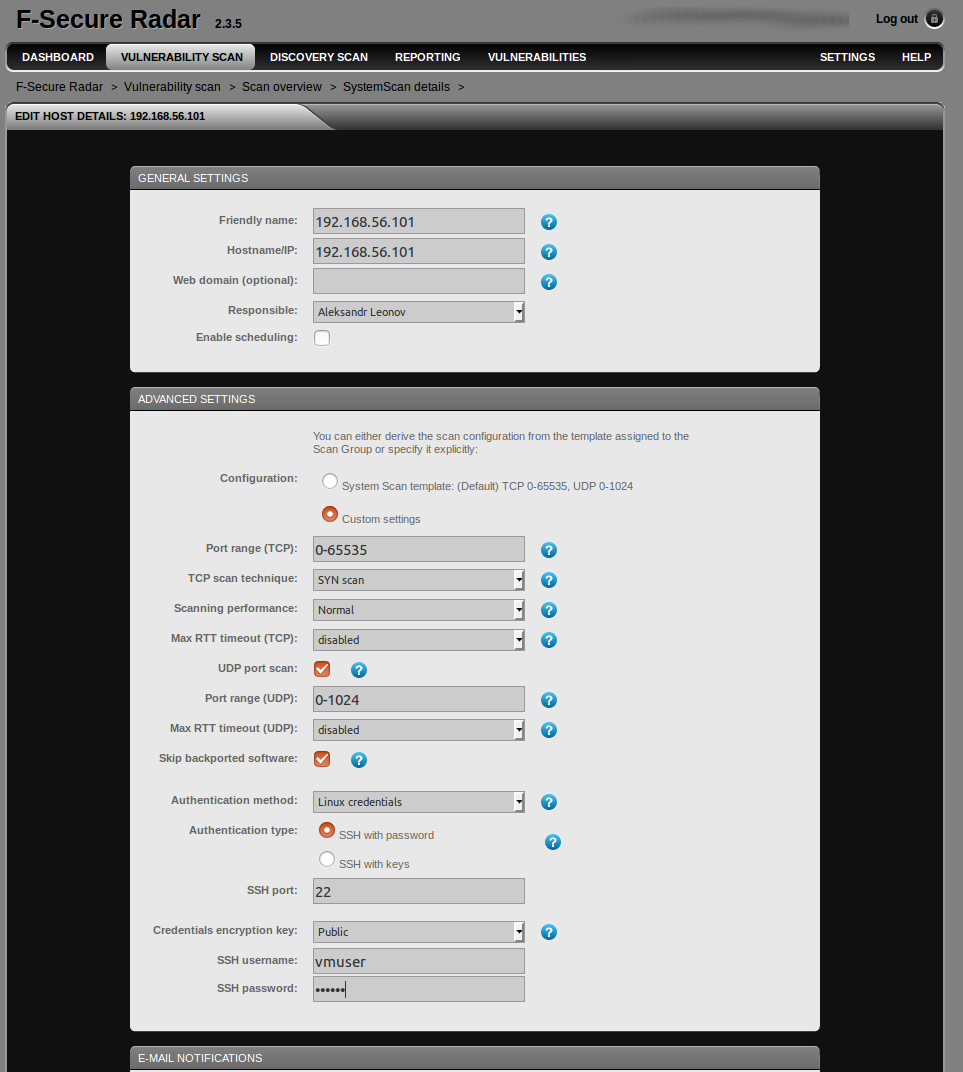
You can see “vmuser” account, which I will use for ssh scanning. But what we don’t see here comparing with Discovery scanning we have seen earlier? There is no option to choose the scanner: remote F-Secure server or Scan Node inside your network. To choose one you need to edit the Scan Group:

As you can see, System Scan Settings -> Node, and choose you Scan Node.
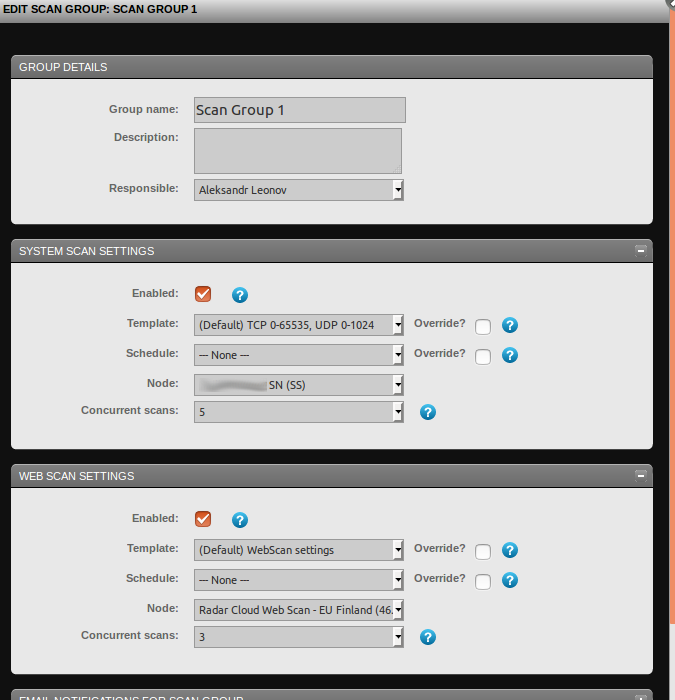
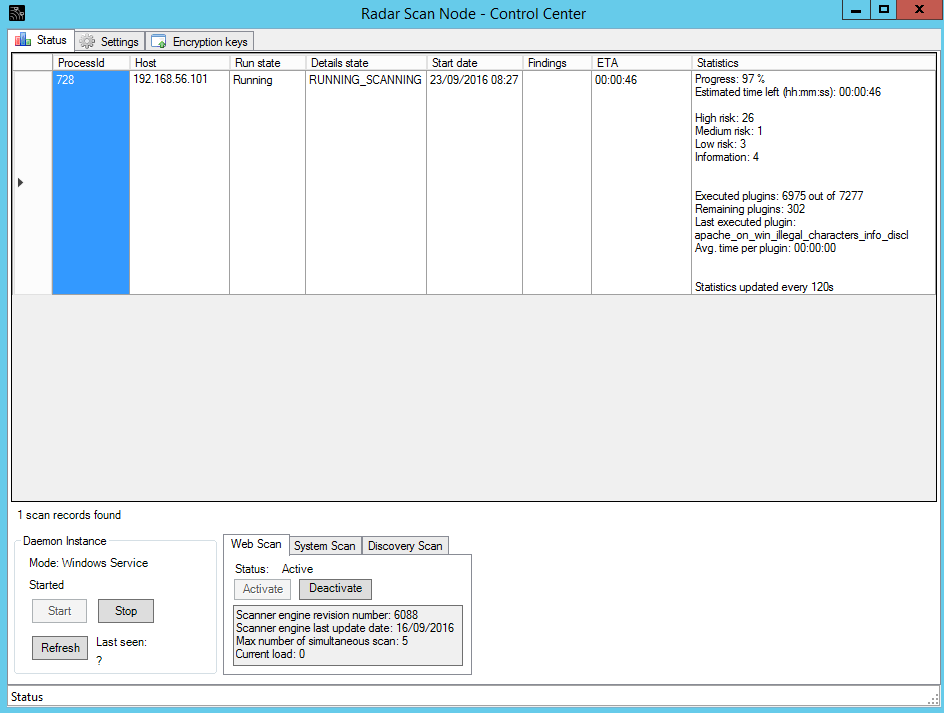
After this, run the scan. We can see vulnerability checking process at the Radar Scan Node GUI:
Vulnerability report:
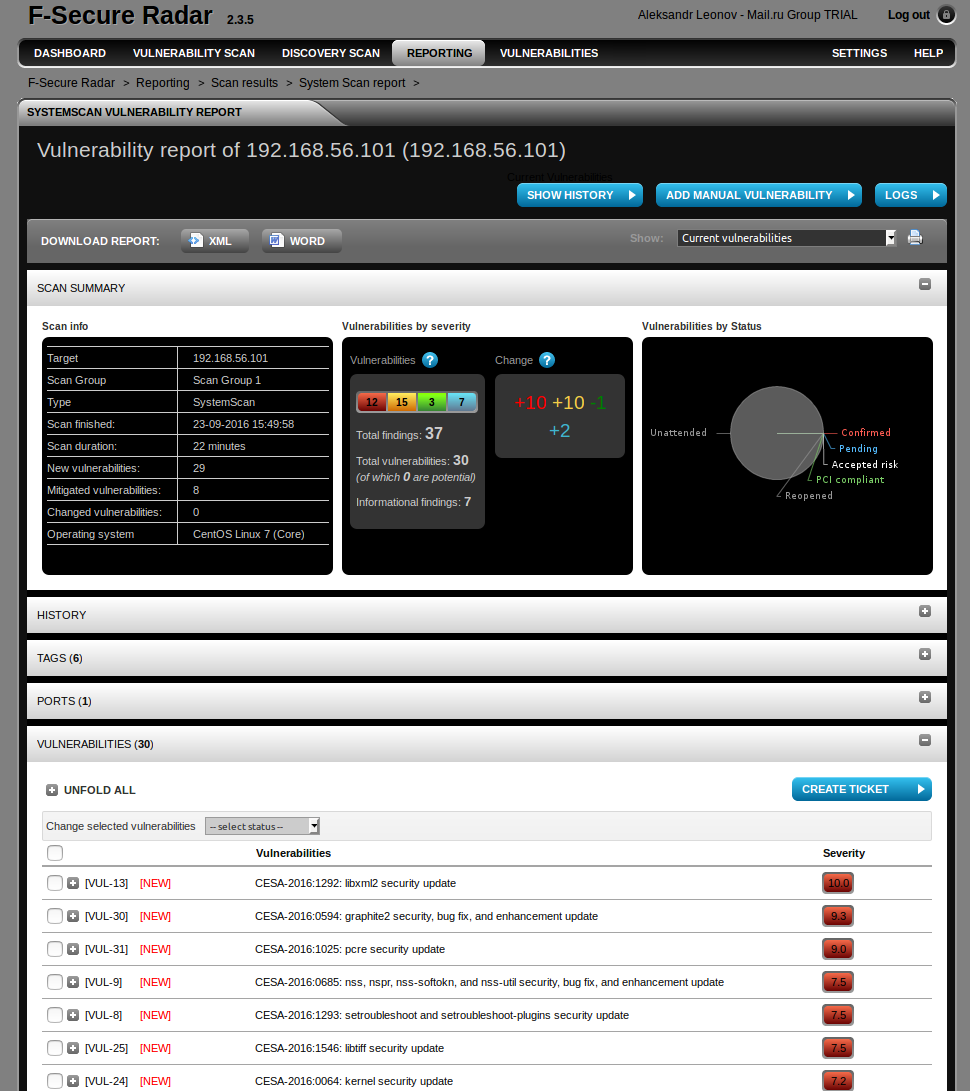
The numbers you see in “Change” (+10 +10 1 +2) is the difference between authenticated and unauthenticated scanning, I did before.
In conclusion
As you can see, something works unusually. However, the product works well and may be quite useful if you are going to perform authenticated scanning for Windows and Linux systems only and scan Web applications.
What is left out of scope of this post?
- The product has a pretty powerful API, with you can use to automate some routine tasks of Vulnerability Management process (upd. see “F-Secure API for scanning“).
- Reports (upd. see “F-Secure Radar basic reporting“)
- Task-tracker, which can be used for the Remediation (upd. see “F-Secure Radar ticketing“).
- Web Application Scanning Mode.

Hi! My name is Alexander and I am a Vulnerability Management specialist. You can read more about me here. Currently, the best way to follow me is my Telegram channel @avleonovcom. I update it more often than this site. If you haven’t used Telegram yet, give it a try. It’s great. You can discuss my posts or ask questions at @avleonovchat.
А всех русскоязычных я приглашаю в ещё один телеграмм канал @avleonovrus, первым делом теперь пишу туда.

Pingback: F-Secure Radar basic reporting | Alexander V. Leonov
Pingback: F-Secure API for scanning | Alexander V. Leonov
Pingback: F-Secure Radar ticketing | Alexander V. Leonov
Pingback: ZeroNights16: Enterprise Vulnerability Management | Alexander V. Leonov
Pingback: Gartner’s view on Vulnerability Management market | Alexander V. Leonov
Pingback: Vulnerability Management for Network Perimeter | Alexander V. Leonov