
Burp Suite Free Edition and NTLM authentication in ASP.net applications. As you know, Burp Suit is a scanner for advanced Web Application Security researchers. However, the free version of Burp is more like Firebug analogue, but much more functional.
Let’s see how to install it and use for website analysis. This analysis may be necessary to find vulnerabilities or somehow automate the work with the site. Let’s take, for example, ASP.net applications with NTLM-authorization, which is rather unpleasant to analyze.
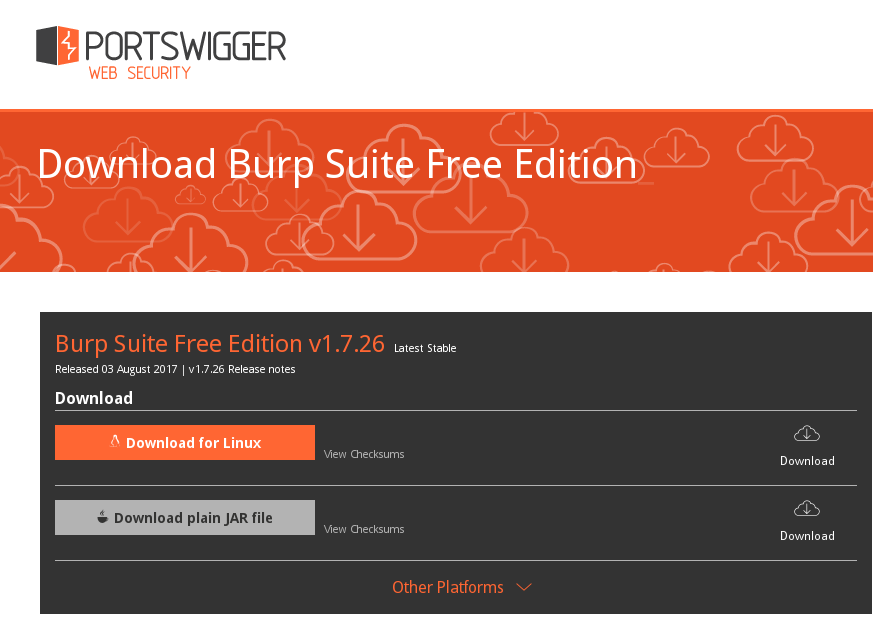
Go to the site https://portswigger.net/burp/freedownload and download burp installer as a bash script:
$chmod +x burpsuite_free_linux_v1_7_26.sh

$ sudo ./burpsuite_free_linux_v1_7_26.sh

[sudo] password for user:

Unpacking JRE ...

Starting Installer ...
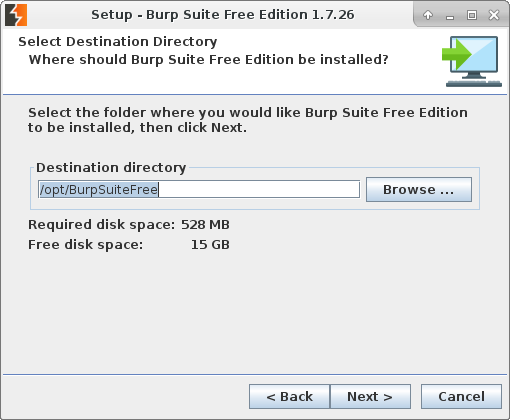
The graphical installer will start:
Binaries will be in /usr/local/bin
Launching Burp Suit Free Edition:
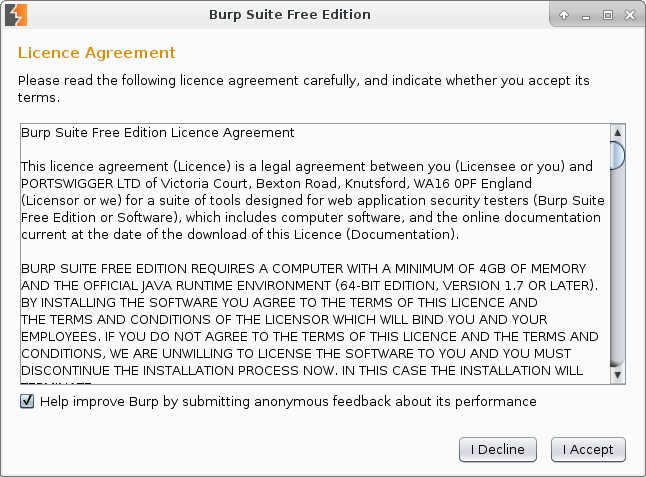
At the first start, we agree with the license agreement:
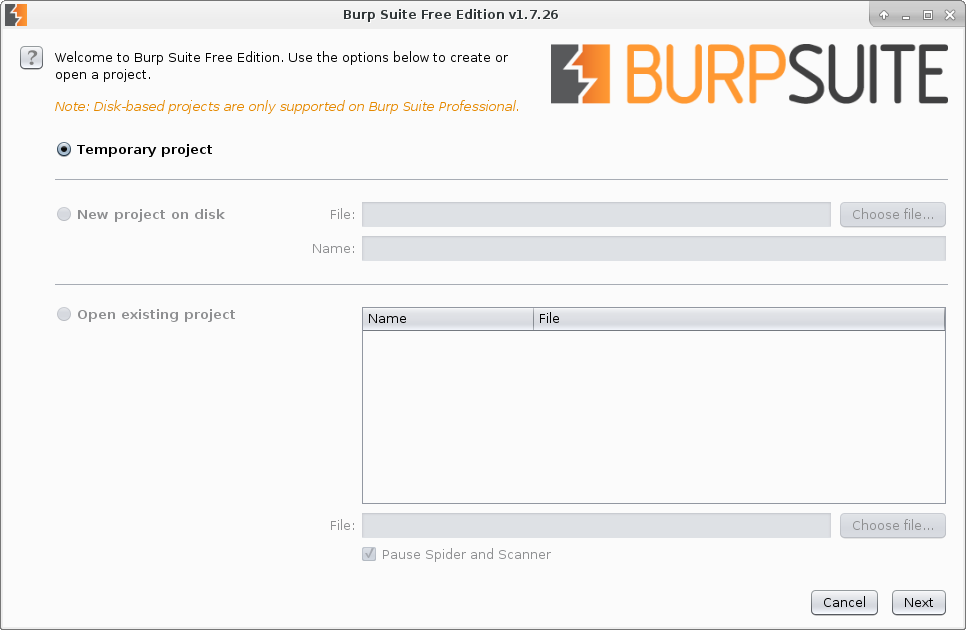
Here is one of the free version limitations – you can not save the project to hard drive:
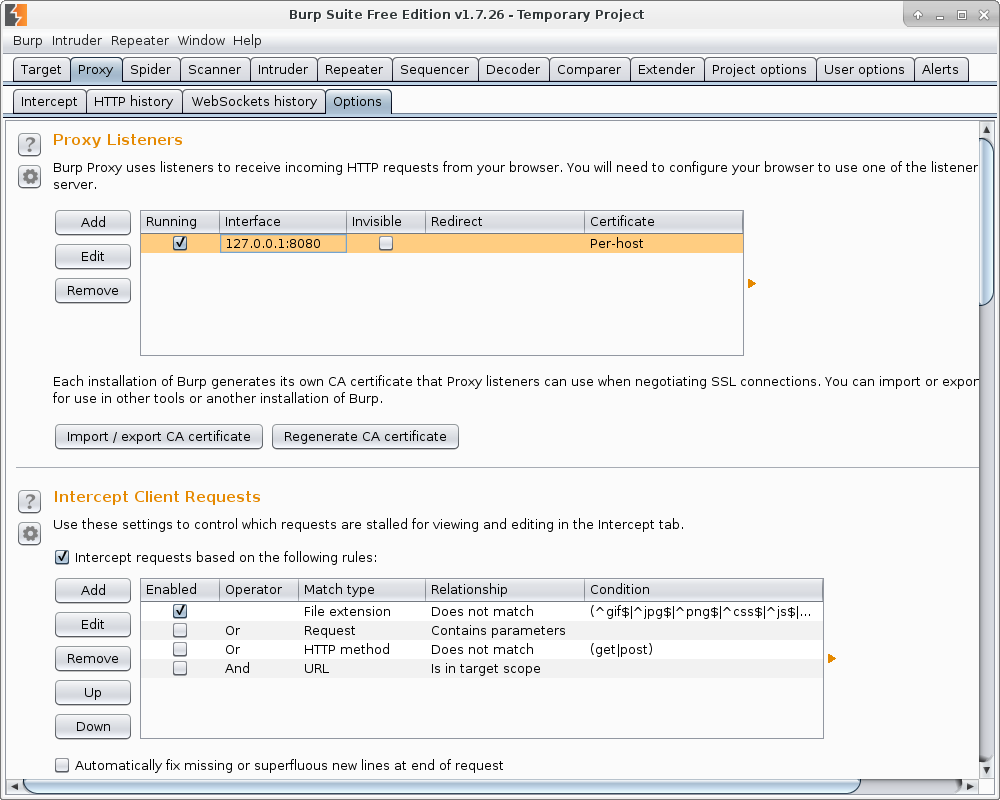
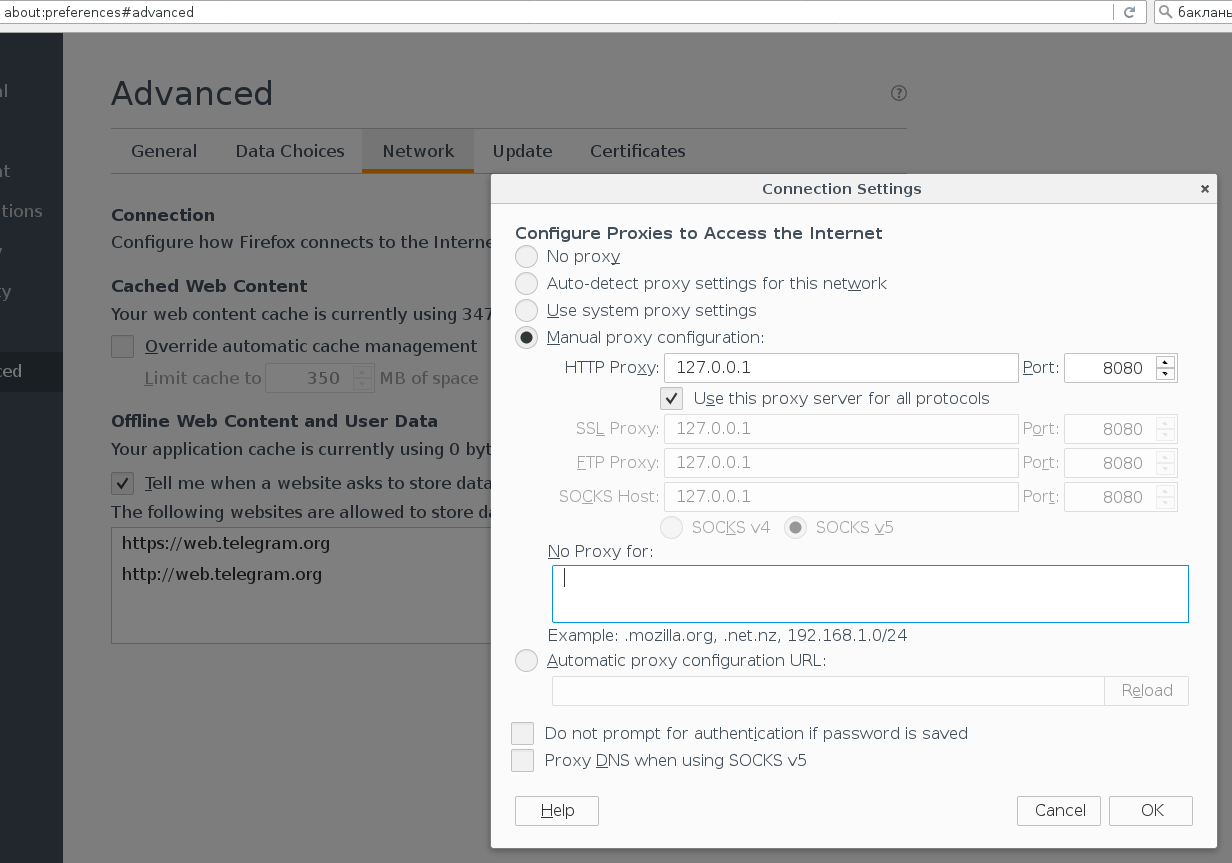
This is what the main Burp interface looks like. On the Proxy tab we see that the proxy server 127.0.0.1:8080 is already running. Let’s set it in Firefox web browser.
Configure in Advanced-> Network (also delete everything in “No Proxy for”)
To make Firefox stop swearing certificate substitution, you need to download the certificate from burb/cert
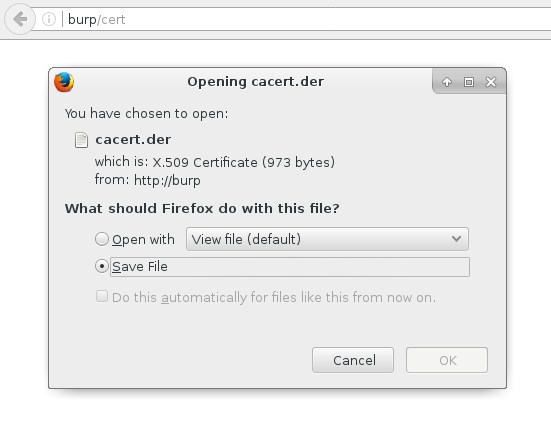
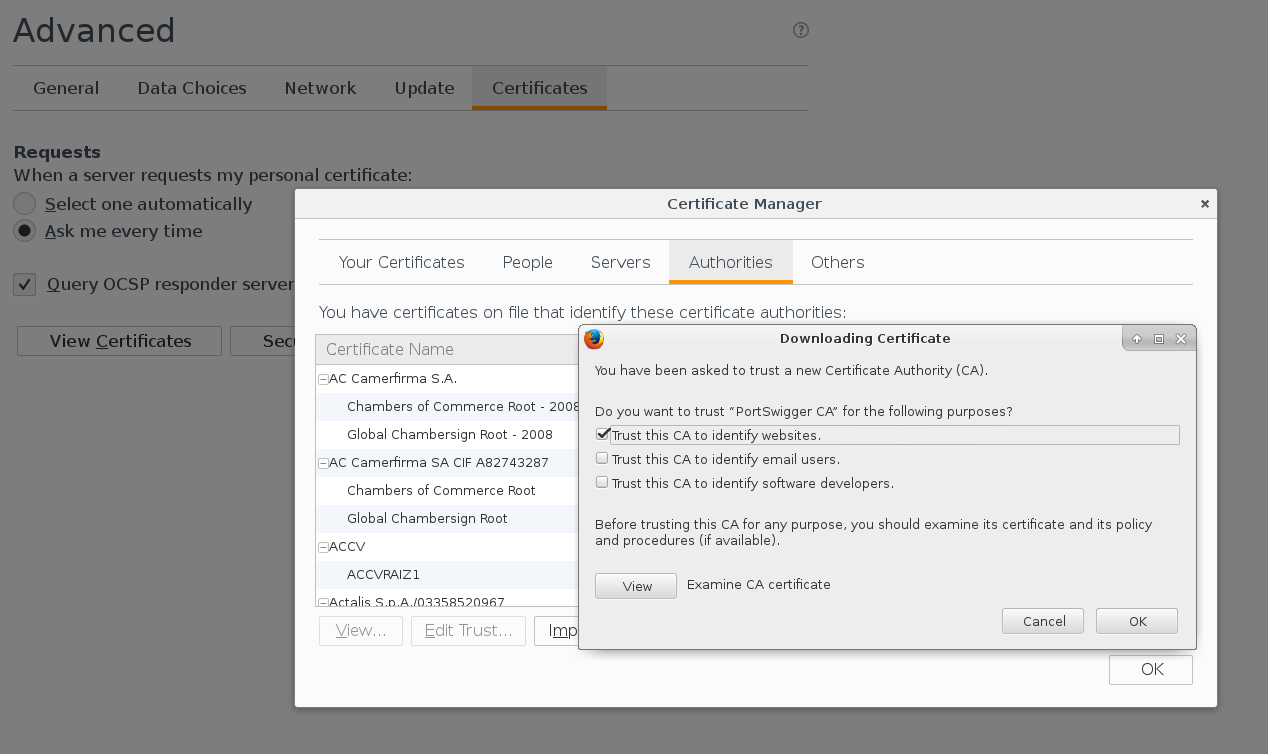
And add it in the interface Advanced -> Certificate Manager -> Authorities
Excellent. Now you can open a site, you want to analyze. To load site fully ensure that in Proxy tap “intercept is off”

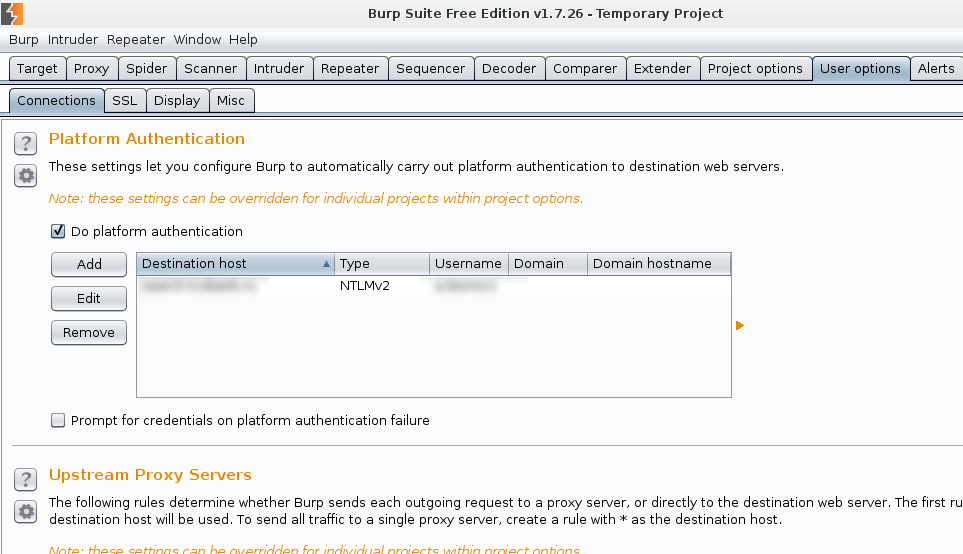
Now, if the site is uses NTLM authorization, then proxy will not work. The site will constantly request a username and password. How is fix this? Go to User options-> Connections and add the account:
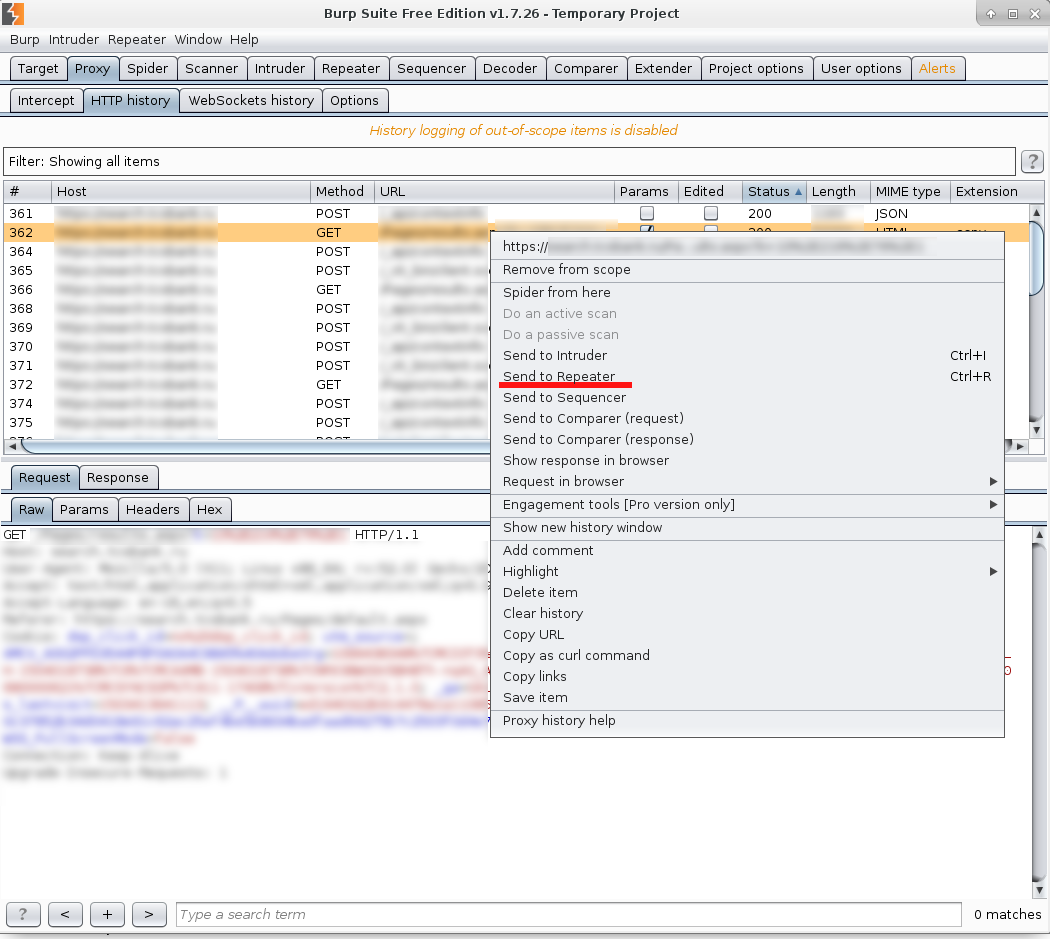
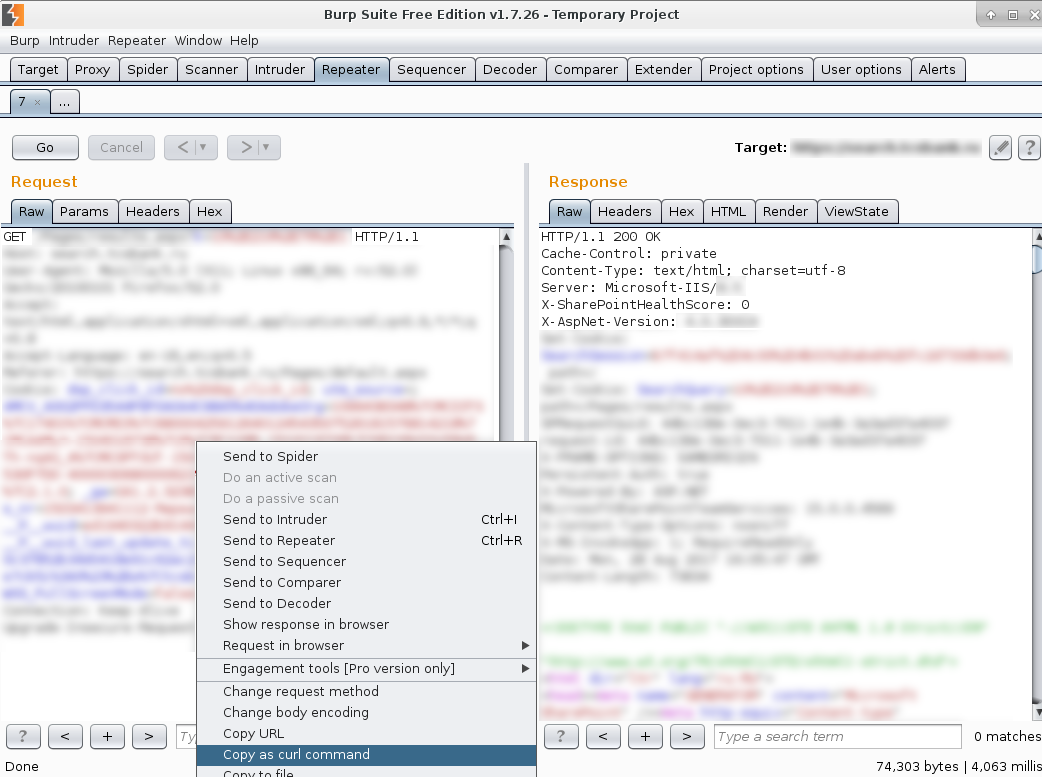
Now everything should be loaded successfully. Go to Proxy -> HTTP history and look at the requests. When you see a request with an interesting Response, you can send it to Repeater and execute it once again.
Here is the same request in Repeater. If it is normally executed you can copy request as curl command.
Just keep in mind that NTLM authorization won’t be in a curl command and you will need to add:
-v --ntlm --negotiate -u username:password
And curl request, you can, in its turn, translate to python almost automatically with the help of https://curl.trillworks.com/ service.
Small update on python and NTLM. Python “requests” library doesn’t support NTLM authentication by default. You need to install requests-ntlm:
sudo pip install requests-ntlm
Usage example:
import requests
from requests_ntlm import HttpNtlmAuth

headers = {
    'User-Agent': 'Mozilla/5.0 (X11; Linux x86_64; rv:52.0) Gecko/20100101 Firefox/52.0',
    'Upgrade-Insecure-Requests': '1',
}

r = requests.get('https://app.corporation.com/?a=param_value', headers=headers, verify=False,
                 auth=HttpNtlmAuth(domain + "\\" + user,password))

print(r.text)
ASP.NET means it is Windows, so don’t forget to clear the text from “\r” 😉

Hi! My name is Alexander and I am a Vulnerability Management specialist. You can read more about me here. Currently, the best way to follow me is my Telegram channel @avleonovcom. You can discuss my posts or ask questions at @avleonovchat.
А всех русскоязычных я приглашаю подписаться на мой канал @avleonovrus “Управление Уязвимостями и прочее” в MAX или в Telegram.
Pingback: Automating Opera browser with Selenium WebDriver and Python | Alexander V. Leonov
Pingback: New Nessus 7 Professional and the end of cost-effective Vulnerability Management (as we knew it) | Alexander V. Leonov