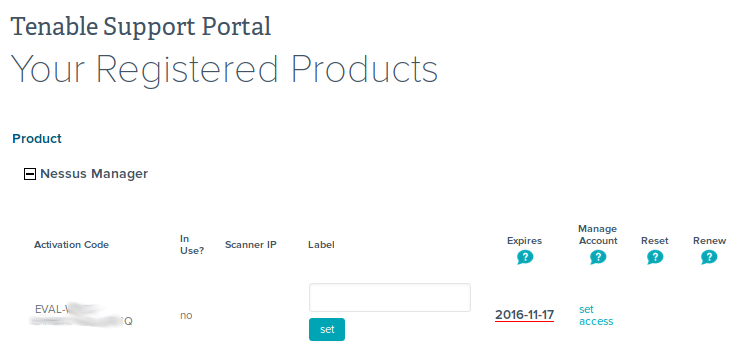
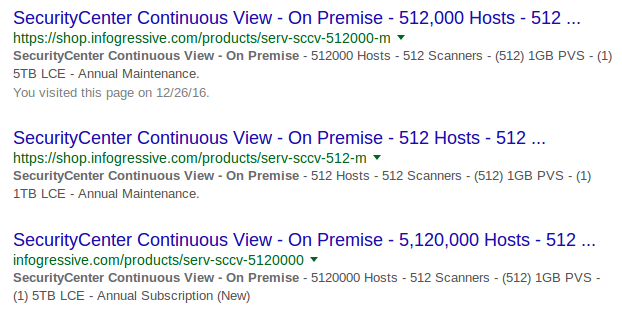
Installing Nessus for SecurityCenter on laptop. The great thing about Tenable SecurityCenter: when you buy it you also get hundreds of licenses for Nessus. You can google different types of SecurityCenter bundles with “SecurityCenter Continuous View – On Premise” request. “Scanners” here mean SC scanners:
You will need these scanner licenses to deploy Nessus hosts on your network, connect them to your Tenable SecurityCenter and manage scan process using SecurityCenter via graphical user interface or API. Of course, with all the restrictions on amount of IP addresses that you can scan.
At the same time, these Nessus for SecurityCenter servers are fully functional. Technically this servers are the same as Nessus Professional. Nessus for SecurityCenter has the same web interface, where you can create multiple user accounts, manage the scans in GUI and API, scan any amount of IP addresses. Scan data will be stored locally on your Nessus server and your SecurityCenter will not see it or use it in any way. This is really great. And I hope it is a feature and not a bug.
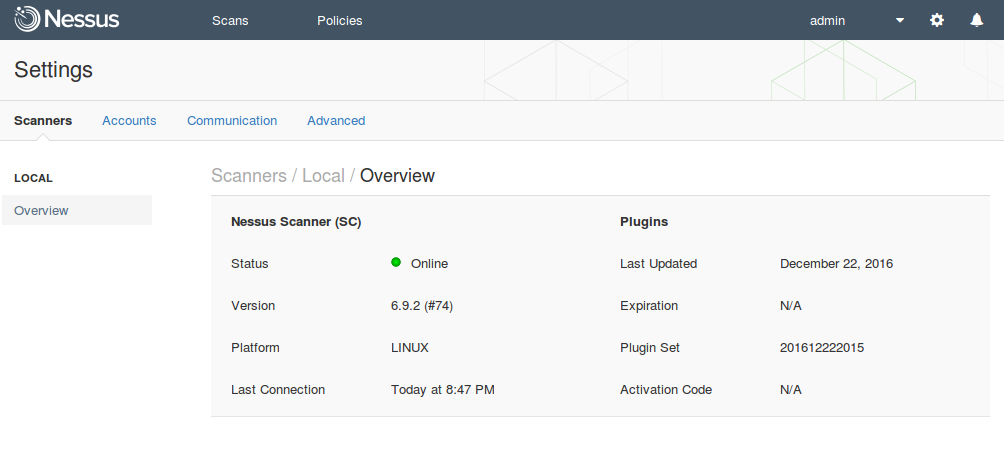
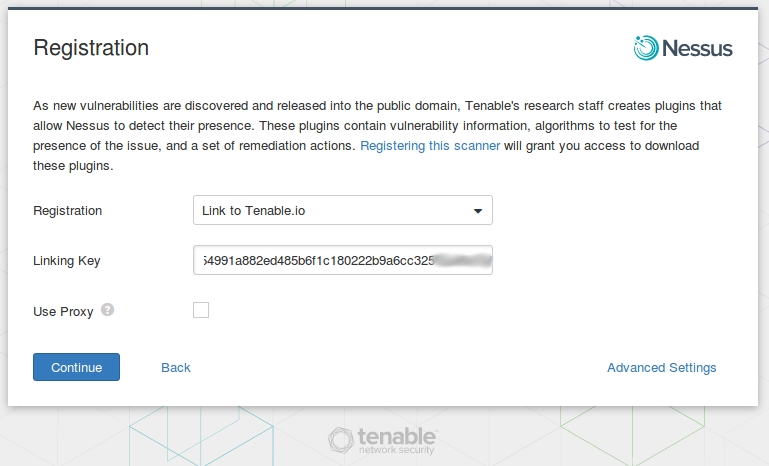
However, there are some differences. Nessus Professional downloads security plugins and makes activation using remote Tenable severs. Nessus for SecurityCenter does these things using SecurityCenter in your network.
So, when you have such a great amount of Nessus licenses you may want to install one on your own laptop. It might be really useful for debugging. For example, when you are developing your own nasl scripts, to enable them in Nessus, you will need to restart it. And you will not probably want to do it on the Nessus server where dozens of scanning jobs are running.
In this post I will try to install Nessus on Centos 7 in VirtualBox, configure port forwarding, activate and update Nessus plugins with SecurityCenter.
Continue reading →
