Category Archives: API

Sending tables from Atlassian Confluence to Splunk

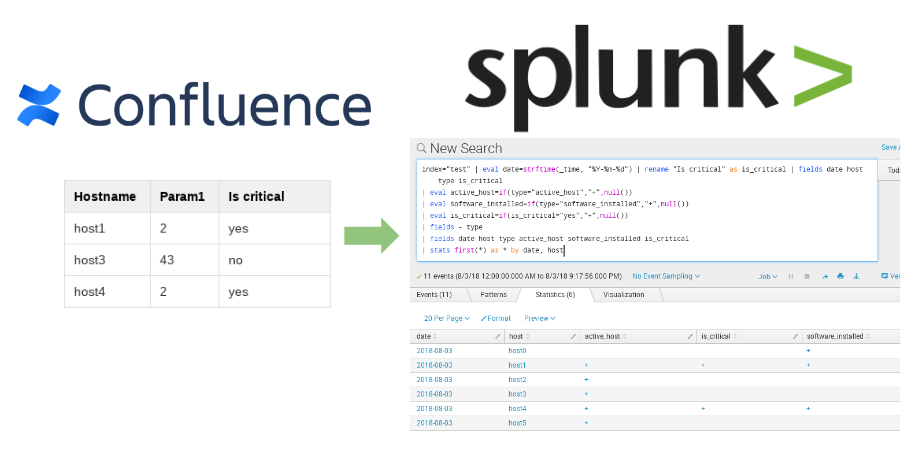
Sending tables from Atlassian Confluence to Splunk. Sometimes when we make automated analysis with Splunk, it might be necessary to use information that was entered or edited manually. For example, the classification of network hosts: do they belong to the PCI-DSS Scope or another group critical hosts or not.

Sending tables from Atlassian Confluence to Splunk

In this case, Confluence can be quite a convenient tool for maintaining such a registry. Page with a table can be created very quickly and multiple employees can immediately start working with it.

Let’s see how to convert such table, export it to Splunk and use it with other data.

Continue reading

Sending FireEye HX data to Splunk

Sending FireEye HX data to Splunk. FireEye HX is an agent-based Endpoint Protection solution. Something like an antivirus, but focused on Advanced Persistent Threats (APT). It has an appliance with GUI where you can manage the agents and see information about detected security incidents.

As with any agent-based solution, it’s necessary to ensure that the agents are installed on every supported host in your network. You may also want to analyze the alerts automatically. And for both purposes you can use Splunk. Let’s see how to do it. 😉

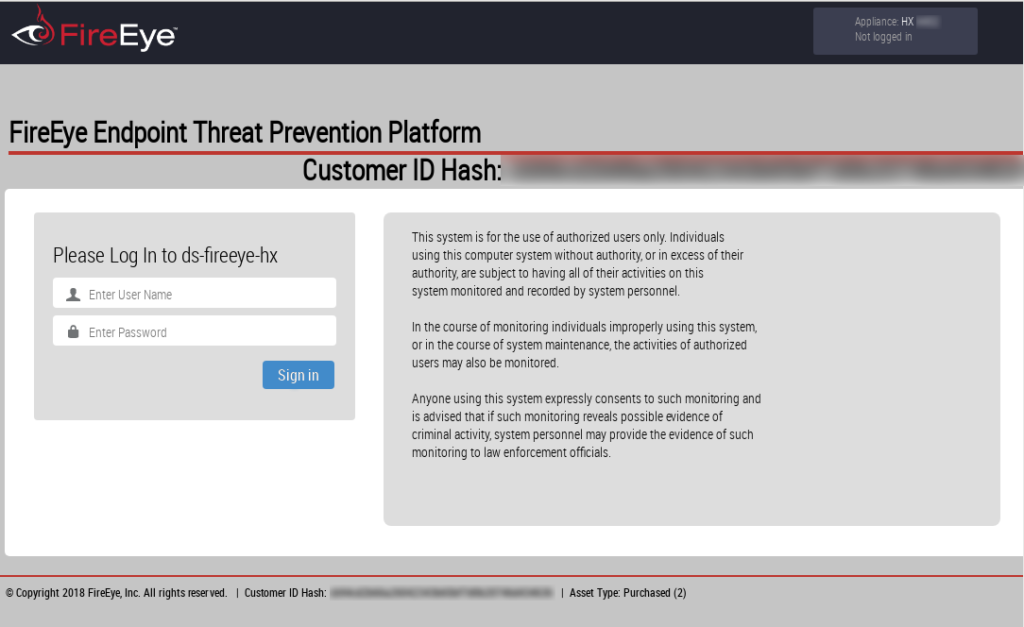
FireEye HX appliance login screen

Note, everything bellow is for FireEye Endpoint Security (HX) 4.0.6 and Splunk 7.0.2. If you use some other version, the things may be quite different.

The main idea is following. We should present FireEye hosts and alerts data in JSON format, add some mandatory fields ans send this packages to Splunk using HTTP Event connector. Then we can process it in Splunk like I’ve shown in “How to correlate different events in Splunk and make dashboards“.

Continue reading

Kenna Security: Connectors and REST API

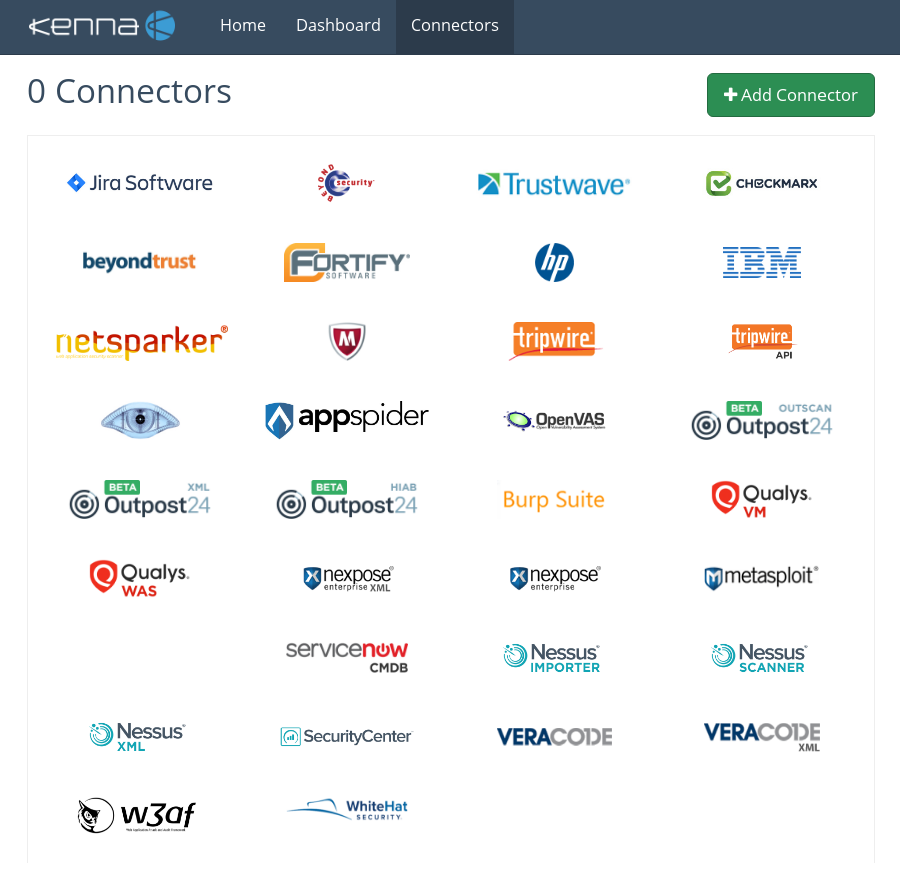
Kenna Security: Connectors and REST API. In the last post about Kenna Security cloud service I mentioned their main features for analyzing data from different vulnerability scanners. Now let’s see how to import Tenable Nessus scan results in Kenna. Here you can see the list of connectors for all supported products:

Kenna connectors

Three connectors for Nessus are available:

  • Nessus Importer retrieves existing scan results from your Nessus server.
  • Nessus Scanner can schedule scans on your Nessus server.
  • Nessus XML imports xml (.Nessus2) files.

First two connectors work with Nessus server directly. And they probably won’t work anymore with Nessus Professional 7, because of API removing (see “New Nessus 7 Professional and the end of cost-effective Vulnerability Management (as we knew it)“). If Nessus server is deployed on-premise you should use special Kenna Virtual Tunnel.

Last “Nessus XML” connector is the most flexible. No matter how you got your scan results, it will be possible to import them to Kenna. See how to get XML reports from from Nessus server in a post “Retrieving scan results through Nessus API“.  You can upload XML scan results using Kenna web GUI (not very efficient way, but for testing – why not?) or REST API.

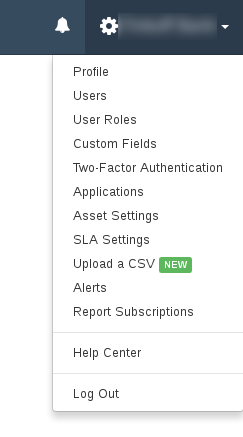
To use Kenna REST API you will need an Application Token. Go to the the Settings menu -> Applications:

Kenna settings

Continue reading

Making simple Nmap SPA web GUI with Apache, AngularJS and Python Twisted

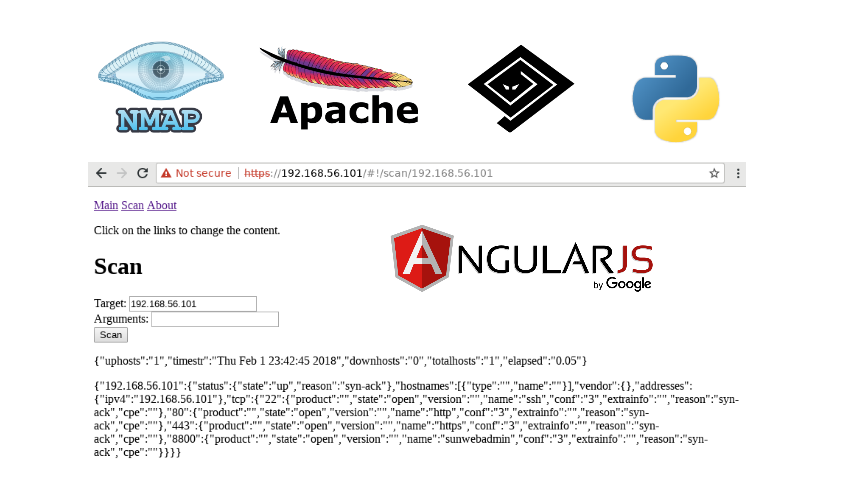
Making simple Nmap SPA web GUI with Apache, AngularJS and Python Twisted. The last time I was developing dynamic web applications years ago. I used CGI and PHP back then. 🙂 Now I am really interested in a modern approach, when you have a Single Page Web Application (SPA) written in HTML and JavaScript, that makes http requests to some external API.

It’s pretty cool, because your application becomes API-centric naturally. You work on human interface and improve integration capabilities at the same time. And the task of securing your web app mostly reduces to securing your formalized API.

nmap SPA GUI

The very best way to learn something new is to write a post about this stuff. 😉 Here I will reproduce my own steps of making a very basic web app:

  1. Launch Apache web-server with http/https.
  2. Make a simple API service: Nmap wrapper.
  3. Make a web-application with “multipage” experience. There should be at least two pages: Scan and About.
  4. On Scan page it will be possible to input a target (hostname or IP), scan arguments and  launch scan by clicking on the button. The same behavior will be if the target will be passed as a parameter in address bar.
  5. On other pages should be some static text.

As you can see, it is a very limited task, but it should clear up the most confusing parts of the process.

Continue reading

Kenna Security: Analyzing Vulnerability Scan data

Kenna Security: Analyzing Vulnerability Scan data. I’ve been following Kenna Security (before 2015 Risk I/O) for a pretty long time. Mainly, because they do the things I do on a daily basis: analyse various vulnerability scan results and feeds, and prioritize detected vulnerabilities for further mitigation. The only difference is that my scripts and reports are highly specific for my employer’s infrastructure and needs. And guys from Kenna team make a standardized scalable cloud solution that should be suitable for everyone.

I think their niche is really great. They do not compete directly with Vulnerability Management vendors. They can be partners with any of them, bringing additional features to the customers. Perfect win-win combination. That’s why Kenna speakers regularly participate in joint webinars with VM vendors.

I couldn’t lose a great opportunity to see Kenna Security service in action. 😉

In this post I will try to make a very brief review of Kenna functionality and formulate pros and cons of the solution.

When you submit trial request at https://www.eu.kennasecurity.com/signup (or https://app.kennasecurity.com/signup if you are not in Europe) you will get a link to your company account:

https://corporation.eu.kennasecurity.com/

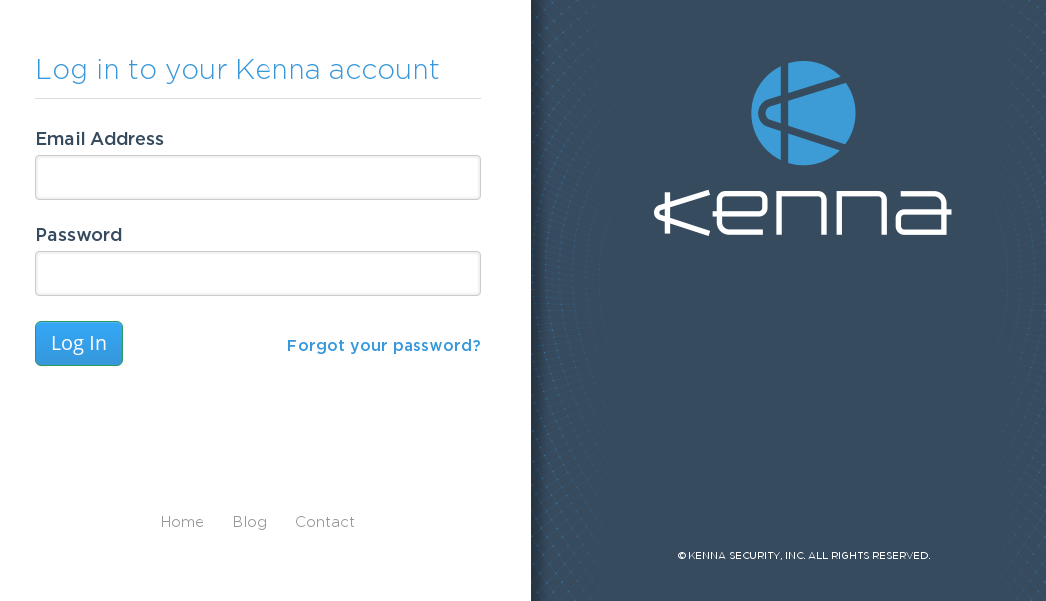
The login screen will look like this:

Kenna login

Continue reading

Confluence REST API for reading and updating wiki pages

Confluence REST API for reading and updating wiki pages. In previous posts I wrote how to automate the work with Atlassian Jira, including automated ticket labeling. Now let’s try to use REST API of another popular Atlassian product – Confluence wiki engine.

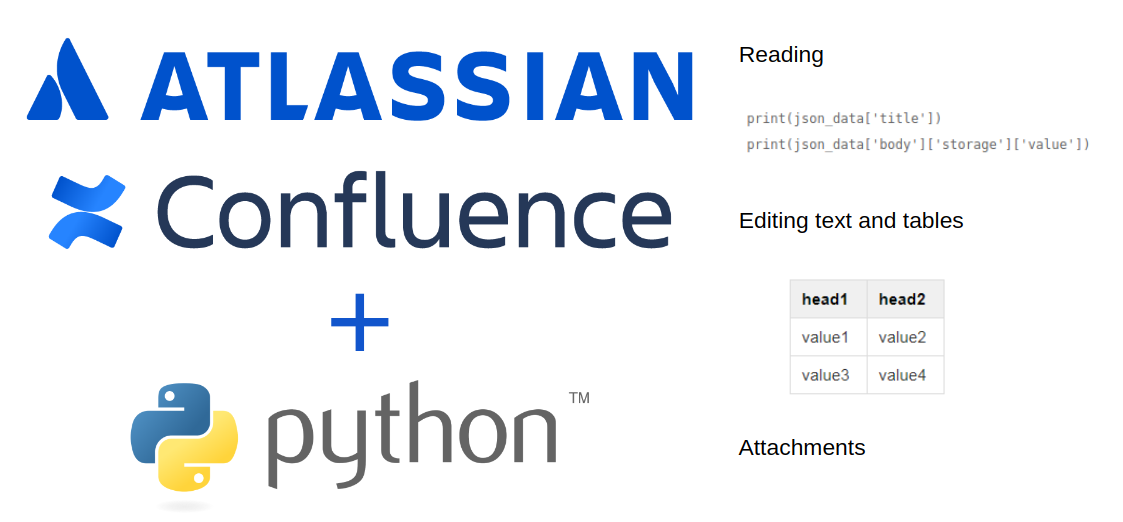
Confluence REST API

What you may want to automate in Confluence? Obviously, it may be useful to read the pages that your colleagues regularly update and then use this data in some scripts as an input. You may also want to update your own Confluence pages, for example to post Vulnerability Scanning results. 😉

Continue reading

New Nessus 7 Professional and the end of cost-effective Vulnerability Management (as we knew it)

New Nessus 7 Professional and the end of cost-effective Vulnerability Management (as we knew it). It’s an epic and really sad news. 🙁
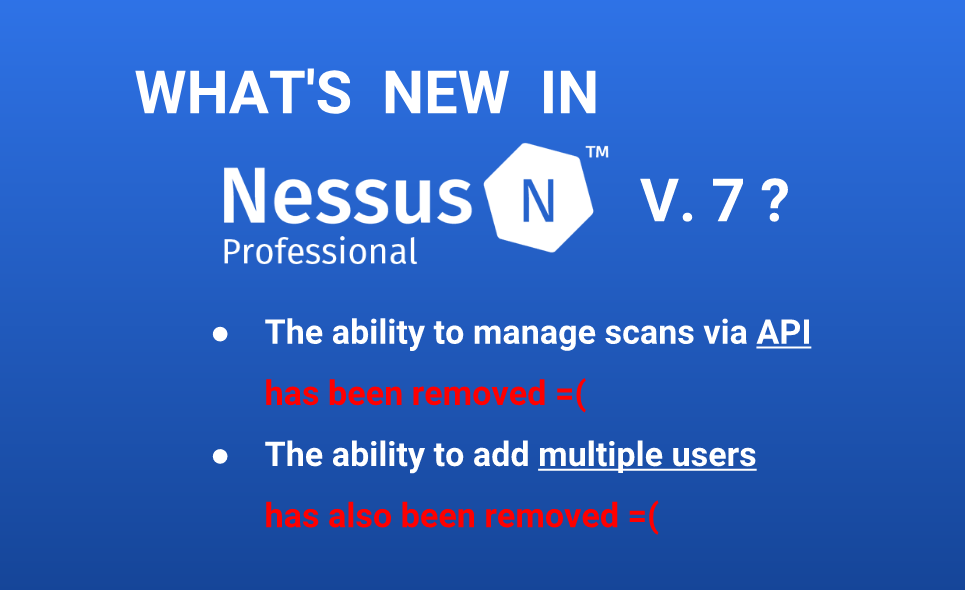
Nessus 7 release

When people asked me about the cost-effective solution for Vulnerability Management I usually answered: “Nessus Professional with some additional automation through Nessus API”.

With just a couple of Nessus Professional scanning nodes it was possible to scan all the infrastructure and network perimeter (see “Vulnerability Management for Network Perimeter“). Price for each node was fixed and reasonable. And you could make your any reports from the raw scan data, as you like it.

Nessus Pro was still were best choice even when Tenable:

  • Cut off master/slave functionality in Nessus and created “Nessus Manager”.
  • Changed API completely during the update from 5 to 6 version.
  • Gradually increased the price from $1,5k to $2,7k per scanning node per year.

But unfortunately it’s not anymore. End of an era.

And what is even more sad is that Tenable does not mention disabling the API and multi-user function in the main Nessus 7 marketing, as it never was, as if it’s not very important. Just look at “Announcing Nessus Professional v7” – not a word  about “API” or users. Only in additional link:

get more information Nessus7

Only there, in the text (not a video) there is an information about removed features.

The nice little things like “Easily transferable license” and “Emailed scan reports and custom report name / logo” do not make it any better.

So, what next?

Continue reading